Managing Credit Cards in QuickBooks: A Comprehensive Guide
Managing credit card transactions effectively is crucial for accurate financial records and smooth business operations. QuickBooks simplifies this process by allowing you to connect your credit card accounts directly to the platform. This integration ensures that your financial data is always up-to-date and accurate, offering benefits such as automatic transaction downloads and streamlined reconciliation.
This guide will explore how connecting your credit card accounts to QuickBooks can enhance financial management. We’ll provide detailed instructions on setting up these connections and share tips for maximizing efficiency, helping you improve your overall financial accuracy and effectiveness.
Contents
The Importance of Managing Credit Card Transactions in QuickBooks
Understanding QuickBooks’ Credit Card Management Features
Connecting Your Credit Card Accounts to QuickBooks
Paying Credit Card Charges in QuickBooks
Disabling a Credit Card in QuickBooks
Best Practices for Managing Credit Card Transactions in QuickBooks
Conclusion
Conclusion
The Importance of Managing Credit Card Transactions in QuickBooks
Before diving into the specifics of connecting credit card accounts, it’s important to understand why managing these transactions in QuickBooks is so crucial. Credit card expenses can quickly add up, and if not properly tracked, they can lead to discrepancies in your financial records. By managing your credit card transactions in QuickBooks, you can ensure that every expense is accounted for, making it easier to reconcile your accounts, prepare accurate financial statements, and file taxes.
Understanding QuickBooks’ Credit Card Management Features
QuickBooks offers powerful features for managing credit card transactions, including automatic downloads that keep your records up-to-date without manual entry. It also categorizes expenses, making it simple to track spending by category for budgeting and reporting. Additionally, QuickBooks' reconciliation tools streamline matching downloaded transactions with your records, ensuring accuracy and efficiency.
Section 1: Adding a Credit Card in QuickBooks
Effective credit card management is a cornerstone of accurate financial tracking and business operations. In QuickBooks, adding and managing credit cards helps streamline the process of tracking expenses, reconciling accounts, and ensuring that your financial records are always up to date. This section will introduce you to the basics of credit card management in QuickBooks and guide you through the steps to add a credit card account to your QuickBooks setup.
Subsection 1.1: Understanding Credit Card Management in QuickBooks
Before diving into the technical steps of adding a credit card, it’s essential to understand the broader context of credit card management within QuickBooks.
Definition and Importance of Tracking Credit Cards
Managing credit cards in QuickBooks is essential for accurate financial tracking. By recording every transaction, you ensure proper expense categorization, monitor spending, and maintain cash flow. This prevents discrepancies in financial statements, avoids cash flow issues, and ensures accuracy during tax season. Proper credit card management in QuickBooks is key to maintaining up-to-date financial records.
Benefits of Managing Credit Cards within QuickBooks
Managing credit cards within QuickBooks offers several significant advantages:
Streamlined Expense Tracking: QuickBooks allows you to track all credit card transactions in one place, making it easier to manage and categorize expenses.
Automatic Transaction Downloads: By connecting your credit card accounts to QuickBooks, you can automate the process of importing transactions, reducing manual data entry and minimizing errors.
Simplified Reconciliation: QuickBooks provides tools to help you reconcile your credit card statements with your recorded transactions, ensuring that your financial records are accurate.
Enhanced Financial Reporting: With all credit card transactions accurately recorded in QuickBooks, generating financial reports becomes more accessible and reliable. This is especially important for monitoring business performance and preparing for tax filing.
By leveraging these benefits, businesses can improve their financial management processes, reduce the risk of errors, and make more informed financial decisions.
Subsection 1.2: Steps to Add a Credit Card
Now that you understand the importance and benefits of managing credit cards in QuickBooks let’s walk through the steps to add a credit card account to your QuickBooks setup.
Navigating to the ‘Chart of Accounts’ Screen
The first step in adding a credit card account in QuickBooks is to navigate to the ‘Chart of Accounts’ screen. The Chart of Accounts lists all your financial accounts, including bank, income, expense, and credit card accounts.
To access the Chart of Accounts, follow these steps:
From the QuickBooks main dashboard, go to the ‘Accounting’ menu on the left-hand side of the screen.
Click on ‘Chart of Accounts’ from the dropdown menu. This will open a list of all your existing accounts in QuickBooks.
The Chart of Accounts is the central hub for managing all your financial accounts in QuickBooks, so it’s essential to familiarize yourself with this area.
Selecting ‘New’ to Add a New Account
Once in the Chart of Accounts screen, you’ll see a button labeled ‘New’ in the upper right corner. This button adds new accounts to your QuickBooks setup, including credit card accounts.
To add a new credit card account:
Click on the ‘New’ button to start creating a new account.
A new window will pop up, prompting you to enter details about the account you’re adding.
Choosing the Account Type ‘Credit Card’
In the new account setup window, QuickBooks will ask you to choose the type of account you want to create. Since you’re adding a credit card account, you must select ‘Credit Card’ from the list of available account types.
Under the ‘Account Type’ dropdown menu, select ‘Credit Card.’
This selection tells QuickBooks that the account you’re adding is a credit card account, which will be used to track all related transactions.
Entering Credit Card Details
After selecting the account type, you’ll be prompted to enter specific details about the credit card account. These details include:
Name: Enter the name of the credit card account. This is typically the name of the credit card provider (e.g., “Visa Business Card” or “MasterCard Company Card”). The name should be clear and descriptive to help you quickly identify the account in QuickBooks.
Description: (Optional) You can add a description for the account to provide more context or details. This field is optional but helpful if you manage multiple credit cards and must differentiate between them.
Opening Balance: Enter the opening balance for the credit card account. When you start tracking it in QuickBooks, the opening balance is the amount owed on the credit card. If the balance is zero, enter ‘0’. If there is an outstanding balance, enter the correct amount. This helps QuickBooks accurately reflect the current state of your finances.
Accurately entering these details is crucial for ensuring that the account is set up correctly and that all future transactions are appropriately tracked.
Saving and Closing the Account Setup
Once you’ve entered all the necessary details for your credit card account, the final step is to save and close the account setup.
Click the ‘Save and Close’ button to finalize the setup. QuickBooks will now add the credit card account to your Chart of Accounts.
Your new credit card account will now appear in the Chart of Accounts, and you can begin recording transactions associated with this account.
Section 2: Editing a Memo in QuickBooks
Memos play a significant role in maintaining clear and comprehensive financial records in QuickBooks. They serve as notes or reminders attached to transactions, providing context and additional information that might not be immediately evident from the transaction details alone.
Subsection 2.1: Importance of Memos in Transactions
Role of Memos in Providing Transaction Context
Memos in QuickBooks are essential for providing context to transactions. They allow you to add notes, explanations, or any other pertinent information that can clarify the purpose or details of a transaction. For example, suppose a payment is made for a specific project or expense. In that case, a memo can be added to indicate this, making it easier to remember the reason for the transaction when reviewing records later.
Memos are especially useful for:
Internal Communication: Memos can serve as internal notes for other team members who may need to review the transaction later, providing them with the necessary context.
Auditing and Reconciliation: During audits or account reconciliations, memos can help clarify the nature of a transaction, reducing the time spent investigating the details.
Tax Preparation: Memos can help ensure that transactions are correctly categorized and justified, making tax preparation smoother and more accurate.
Scenarios Where Editing a Memo is Necessary
There are several scenarios where you might need to edit a memo in QuickBooks:
Correcting Errors: If a memo was entered incorrectly or contains a typo, it is essential to edit it to maintain accurate records.
Updating Information: As more information becomes available, you might need to update a memo to reflect the most current details of a transaction.
Adding Details: In some cases, a memo might need to be expanded to include additional context that wasn’t initially available at the time of the transaction.
Editing memos ensures that your records are clear, accurate, and valuable for future reference.
Subsection 2.2: Steps to Edit a Memo
Editing a memo in QuickBooks is a simple process that involves locating the transaction and modifying the memo text. Follow these steps to edit a memo in QuickBooks:
Locating the Transaction with the Memo to Be Edited
The first step in editing a memo is to locate the transaction to which the memo is attached. This can be done by navigating to the specific account where the transaction is recorded or using the QuickBooks search function.
Navigating to the Account: If you know which account the transaction is recorded in (e.g., a specific bank or credit card account), you can go to the ‘Chart of Accounts,’ select the account and browse the transaction list to find the one you need to edit.
Using Search and Filter Options: If you need help determining where the transaction is located, QuickBooks offers search and filter options to help you find it. You can use keywords from the memo, the transaction amount, or the date to narrow your search.
To search for a transaction:
Use the search bar at the top of the QuickBooks dashboard and enter relevant keywords, such as the memo content or transaction amount.
Apply filters to refine the search results by date, transaction type, or account.
Once you’ve located the transaction, click on it to open the details.
Modifying the Memo Details
After opening the transaction, you can view and edit all of its details, including the memo. The memo field is typically located near the transaction description or in a designated box.
Editing the Memo Text: Click the memo field and make the necessary changes. You can correct any errors, add additional information, or update the memo to reflect the current context of the transaction. Be sure to keep the memo clear and concise, providing the necessary information without being overly verbose.
Saving the Changes and Updating the Transaction
Once you’ve edited the memo as needed, the final step is to save the changes and update the transaction in QuickBooks.
Save and Close: After editing the memo, click the ‘Save and Close’ button if you’re finished with the transaction or ‘Save and New’ if you want to continue working on another transaction. QuickBooks will update the transaction with the new memo, and the changes will be reflected in your financial records.
Reviewing the Changes: It’s a good practice to review the transaction after saving to ensure the memo has been correctly updated. You can do this by navigating to the transaction or running a report with the memo field.
Connecting Your Credit Card Accounts to QuickBooks
Now that we’ve covered the importance of managing credit card transactions in QuickBooks and the features available to help you do so, let’s explore the specifics of connecting your credit card accounts to the platform.
Steps to Connect Credit Card Account to QuickBooks
Navigating to the ‘Banking’ or ‘Transactions’ Tab
The first step in connecting your credit card accounts to QuickBooks is to navigate to the ‘Banking’ or ‘Transactions’ tab within the platform. This tab allows you to manage all your connected accounts, including bank and credit card accounts.
Once you’re in the ‘Banking’ or ‘Transactions’ tab, you’ll see an option to connect a new account. This is where you’ll start linking your credit card accounts to QuickBooks.
Selecting ‘Connect Account’
After navigating to the ‘Banking’ or ‘Transactions’ tab, the next step is to select the ‘Connect Account’ option. This will prompt QuickBooks to ask you what type of account you’d like to connect. You’ll have the option to choose between a bank account and a credit card account. In this case, you’ll want to select ‘Credit Card’ to begin the connection process.
Choosing the Bank or Credit Card Provider
Once you’ve selected ‘Credit Card’ as the type of account you’d like to connect to, QuickBooks will prompt you to choose your specific bank or credit card provider from a list of supported institutions. This list includes many banks and credit card companies, making finding and selecting your provider easy.
If your provider isn’t listed, QuickBooks also offers the option to import transactions manually, but connecting your account directly is the preferred method for seamless integration and real-time updates.
Entering Login Credentials and Authorizing Connection
After selecting your bank or credit card provider, QuickBooks will prompt you to enter your login credentials. These are the same credentials you use to access your bank or credit card account online. It’s vital to ensure you’re entering this information securely, as these credentials will be used to establish a connection between QuickBooks and your credit card account.
QuickBooks takes security seriously, using encryption and other security measures to protect your data. When you enter your login credentials, they are securely transmitted to your bank or credit card provider to authorize the connection. Once approved, QuickBooks will begin downloading your transactions.
Mapping the Account to the Corresponding QuickBooks Account
Once your credit card account is connected, you must map it to the corresponding account in QuickBooks. This step is crucial because it ensures that your credit card transactions are recorded correctly within your financial records.
QuickBooks will prompt you to select an existing account or create a new one to map your credit card transactions. It’s essential to choose the appropriate account to maintain accurate records. For example, if you have multiple credit cards, you’ll want to ensure each is mapped to a distinct account in QuickBooks.
Reviewing and Confirming the Connection
After mapping your account, the final step is to review the connection details and confirm the setup. QuickBooks will provide a summary of the connected account, including the account name and the date range of transactions that will be imported.
It’s important to review this information to ensure everything is correct carefully. Once you’ve confirmed the details, QuickBooks will import your credit card transactions. Depending on the volume of transactions, this process may take a few minutes.
In addition to confirming the setup, it’s also a good idea to review your account regularly to ensure that transactions are being imported correctly. If you encounter any issues, QuickBooks offers troubleshooting tips and support to help resolve common connection problems.
Paying Credit Card Charges in QuickBooks
Managing credit card payments in QuickBooks is critical to maintaining accurate financial records. By tracking your credit card payments carefully, you can avoid errors such as duplicate payments, ensure that all expenses are correctly recorded, and keep your financial data up to date.
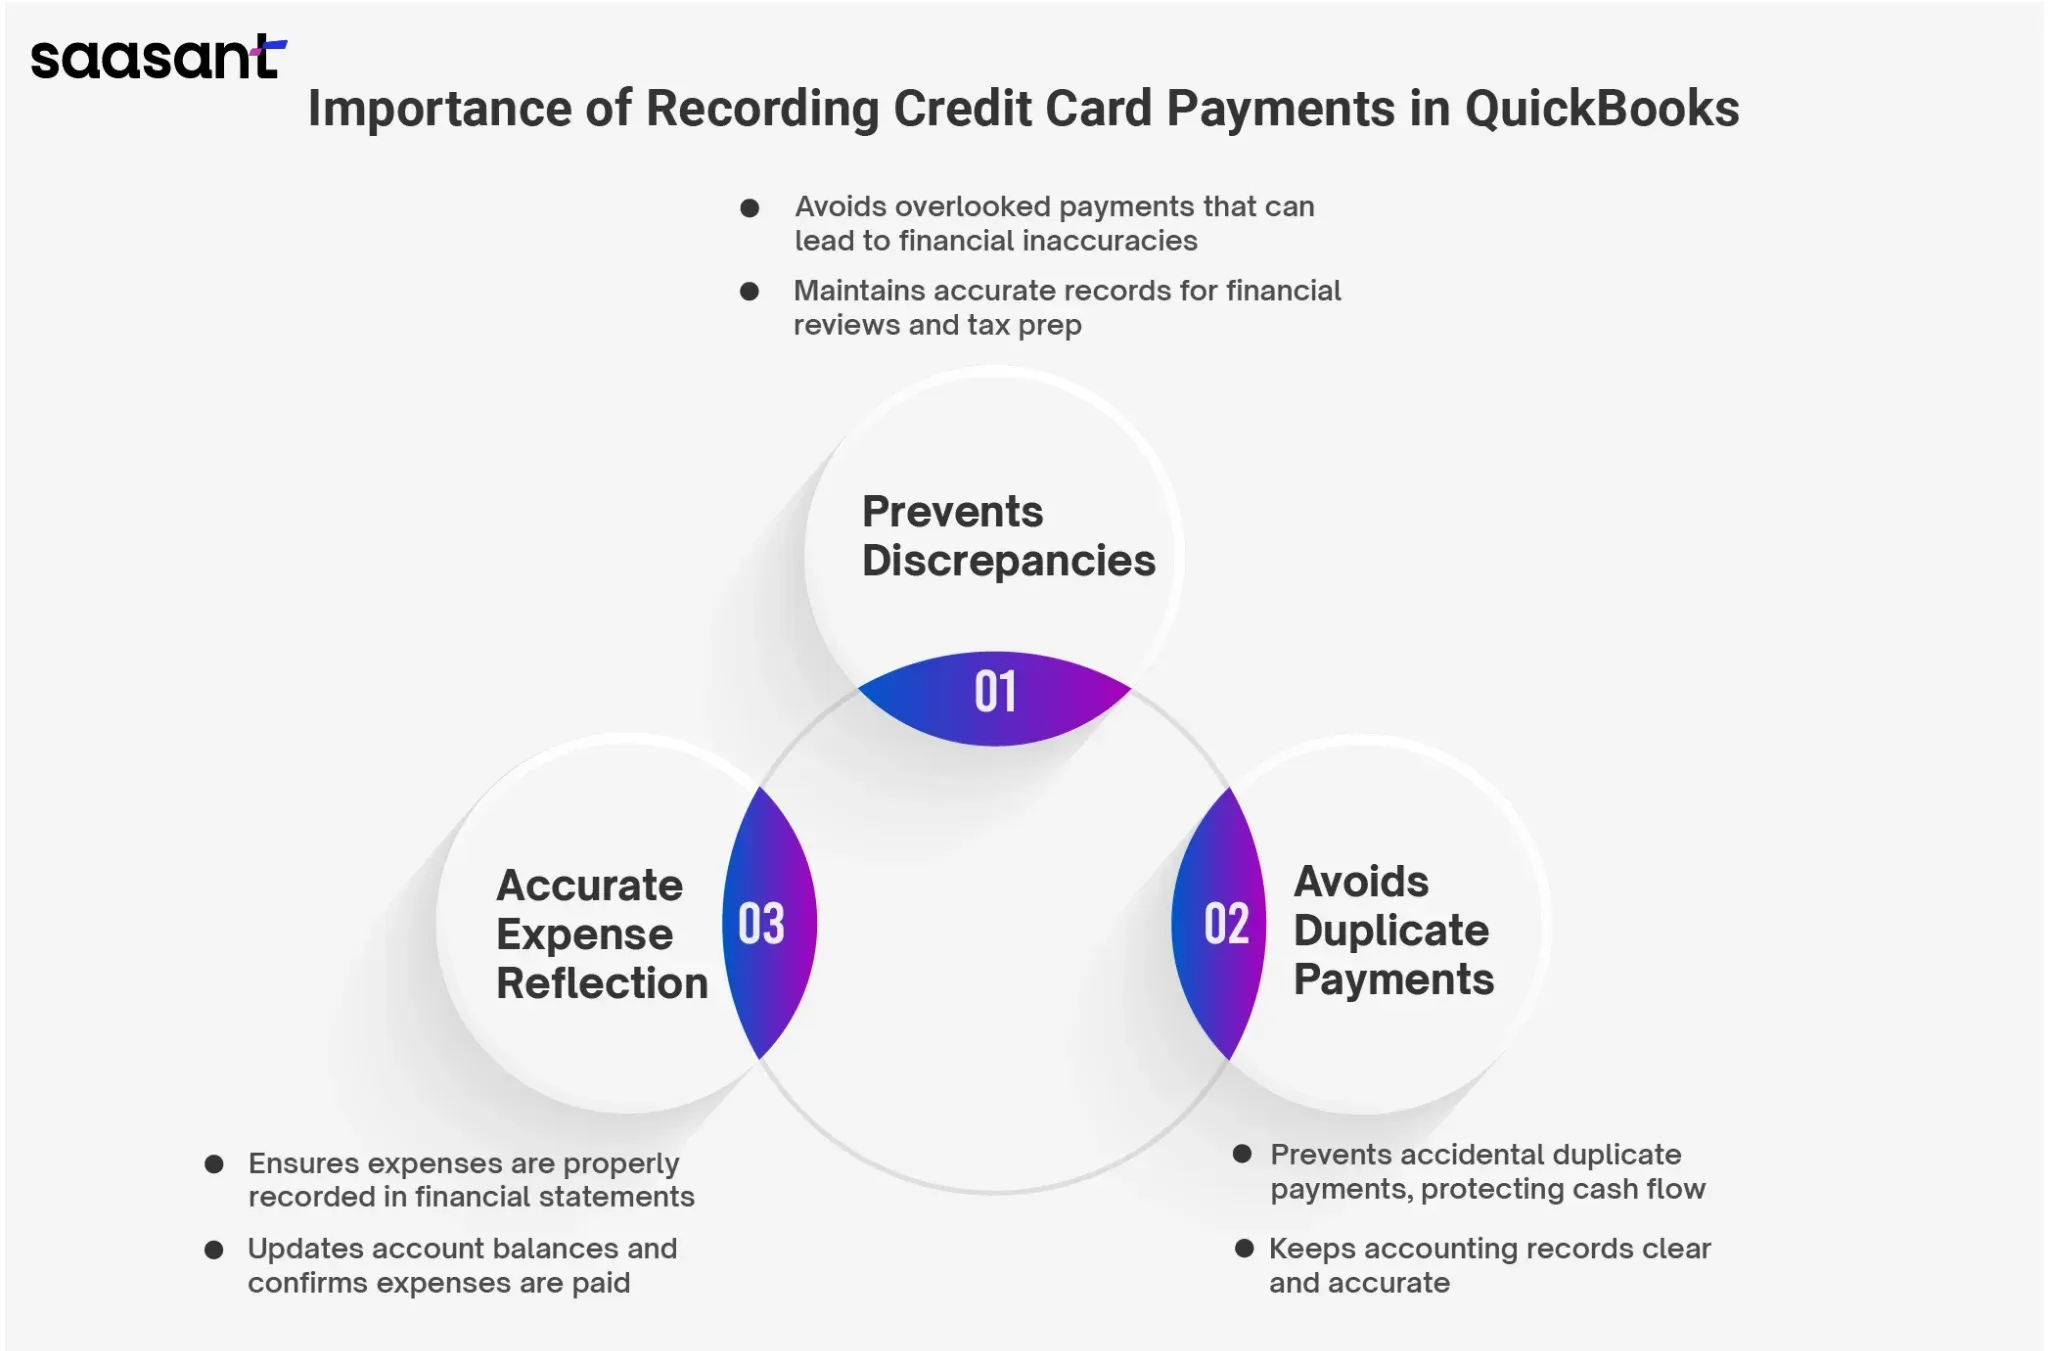
Importance of Tracking Credit Card Payments
Tracking credit card payments is essential for maintaining the integrity of your financial records. When payments are correctly recorded, your accounts accurately reflect your expenses, providing a clear picture of your business's financial health. Here are the key reasons why tracking credit card payments is so important:
Steps to Pay Credit Card Charges
QuickBooks makes paying your credit card charges through the platform easy, ensuring that payments are accurately recorded and reflected in your financial records. Follow these steps to pay your credit card charges in QuickBooks:
Navigating to the ‘Pay Bills’ Screen
Navigate to QuickBooks's ‘Pay Bills’ screen to start the payment process. This screen is the central hub for managing all your outstanding bills, including credit card charges. You can access this screen from the main dashboard by selecting the ‘Expenses’ or ‘Vendors’ menu and then choosing ‘Pay Bills.’
On the ‘Pay Bills’ screen, you’ll see a list of all outstanding bills, including those associated with your credit card accounts. This list provides an overview of all the payments that must be made, helping you stay on top of your financial obligations.
Selecting the Credit Card Account to Pay
Next, you must select the credit card account you want to pay. In the ‘Pay Bills’ screen, locate the specific credit card account from the list of outstanding bills. QuickBooks organizes this list by vendor, so your credit card accounts will be listed under the name of the credit card provider.
Once you’ve found the account you want to pay, check the box next to it to indicate that you’ll be making a payment. This step is crucial for ensuring the payment is applied to the correct account.
Entering Payment Details
You must enter the payment details after selecting the credit card account to pay. QuickBooks will prompt you to fill in the following information:
Date: Enter the date on which you’re making the payment. This date will be reflected in your financial records, so it’s crucial to ensure that it matches the actual date of the payment.
Amount: Enter the amount you’re paying toward the credit card balance. Depending on your preference, you can pay the entire balance, a partial amount, or the minimum payment due.
Payment Method: Select the payment method to pay the credit card charge. This could be a bank transfer, a check, or another technique available in QuickBooks.
Accurately entering these details ensures that the payment is recorded correctly in your financial records. Any information that needs to be corrected could lead to issues with your account balances or reconciliation process.
Assigning the Payment to the Appropriate Account
After entering the payment details, the next step is to assign the payment to the appropriate account in QuickBooks. This step is crucial for ensuring the payment is accurately recorded and reflected in your financial statements.
QuickBooks will prompt you to select the bank account from which the payment is made. For example, if you’re paying the credit card bill from your business checking account, you must select that account from the dropdown menu. This assignment ensures that the payment is deducted from the correct account, maintaining the accuracy of your records.
Saving and Recording the Payment
Once you’ve entered all the necessary information and assigned the payment to the correct account, the final step is to save and record the payment. QuickBooks will automatically update your accounts to reflect the payment, reducing the balance owed on the credit card and adjusting your bank account balance accordingly.
Disabling a Credit Card in QuickBooks
Sometimes, you may need to disable a credit card in QuickBooks for various reasons, such as replacing a card or closing an account. Disabling a credit card account in QuickBooks helps maintain clean and accurate financial records by preventing further transactions from being recorded under that account. This section will cover the reasons for disabling a credit card and provide a step-by-step guide on how to disable a credit card in QuickBooks.
Reasons for Disabling a Credit Card
There are several scenarios where disabling a credit card in QuickBooks becomes necessary:
Situations Where Disabling a Credit Card is Necessary
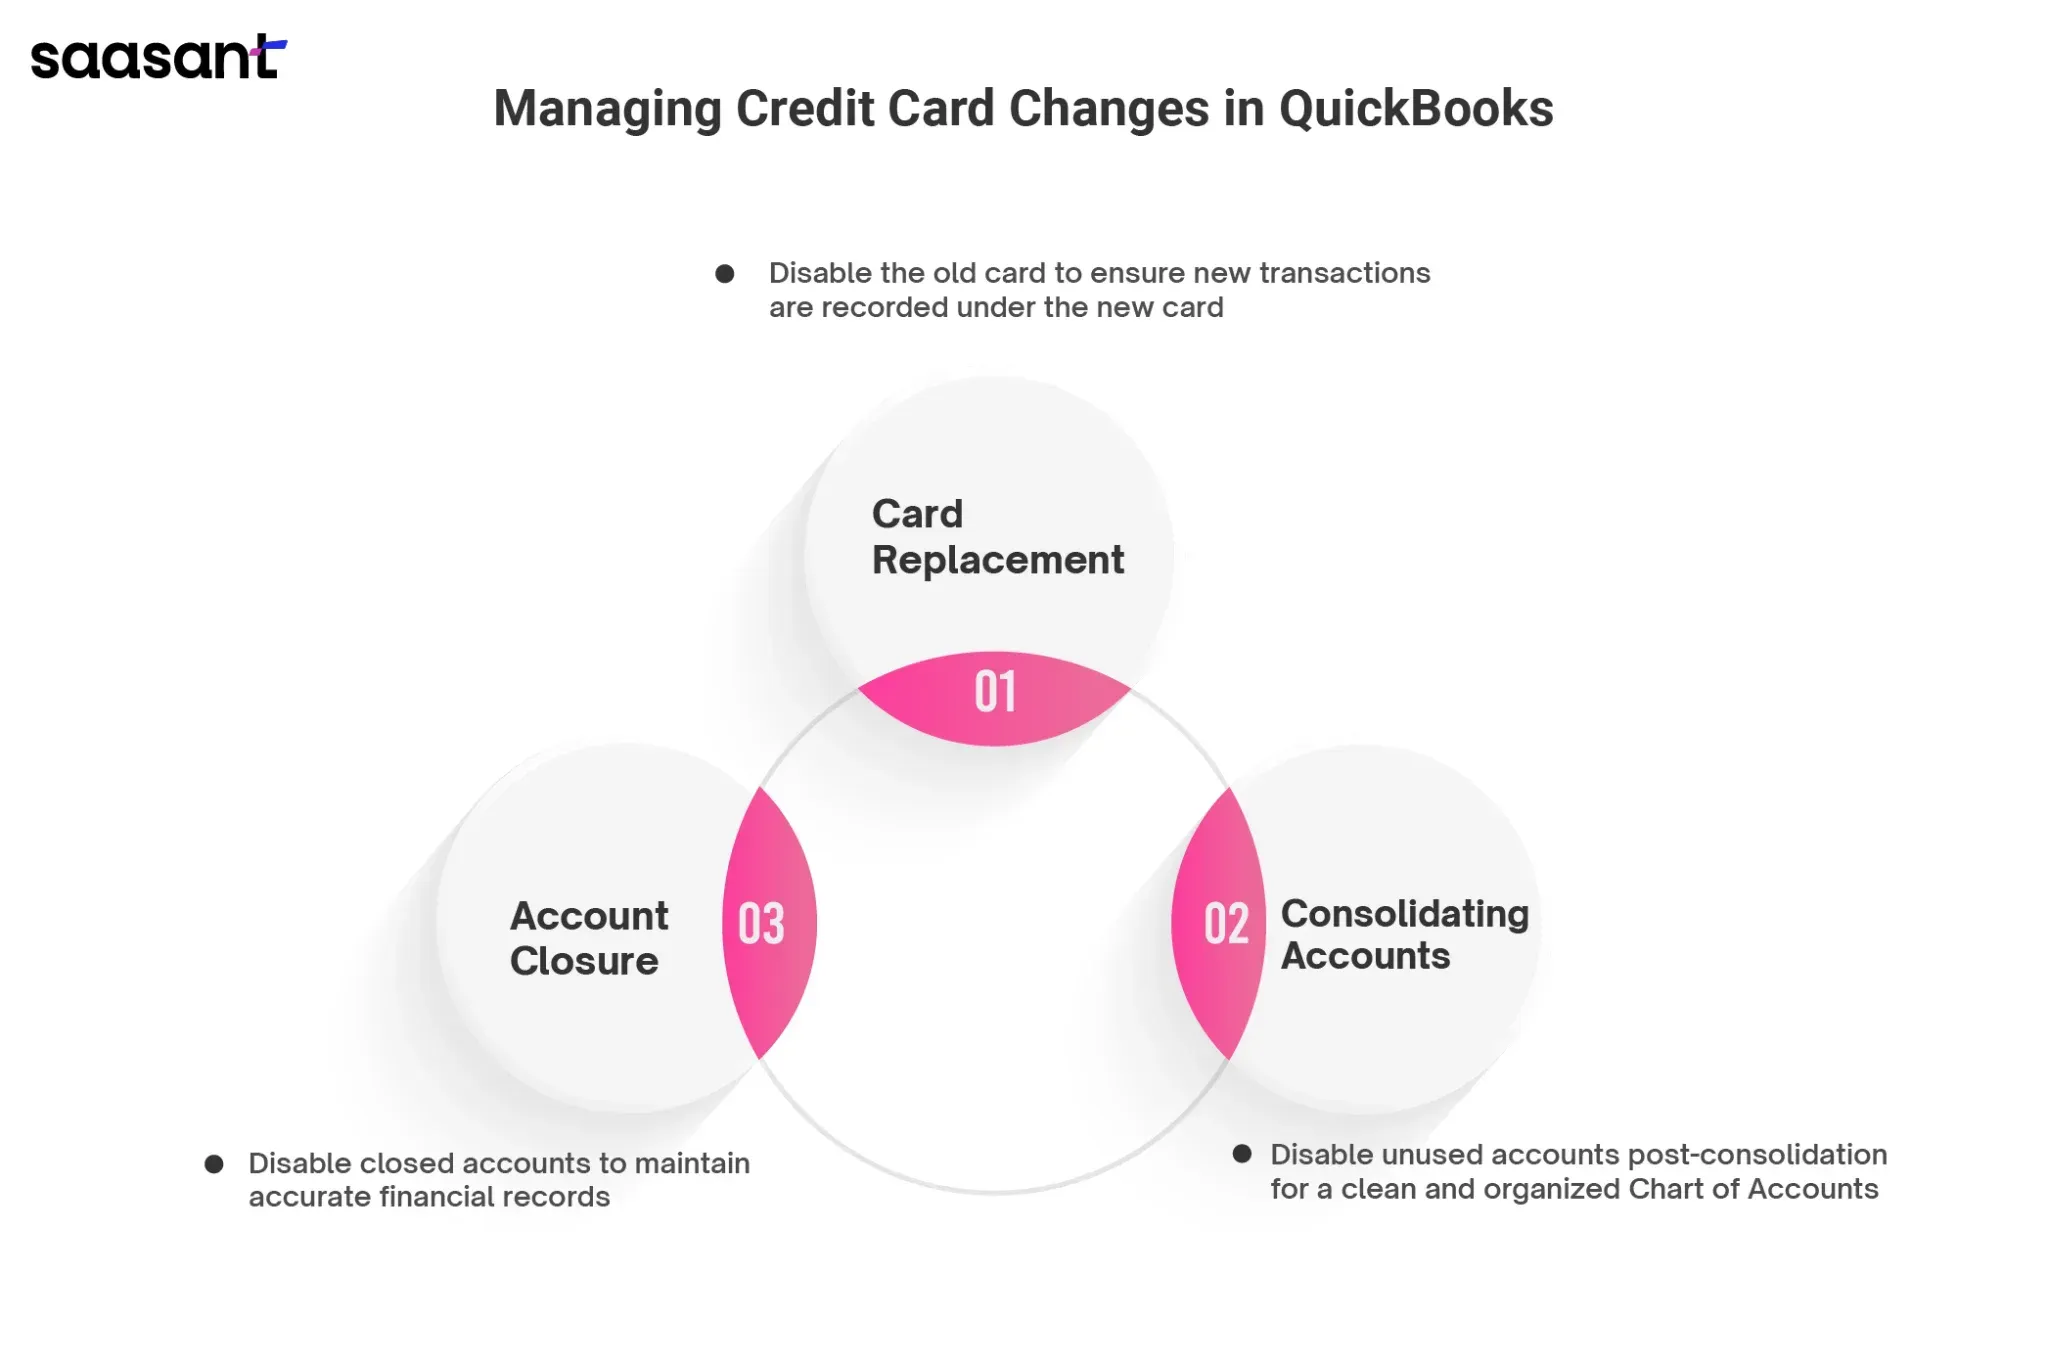
Card Replacement: If your credit card has been replaced due to expiration, loss, or fraud, you must disable the old card in QuickBooks to avoid confusion and ensure that all future transactions are recorded under the new card.
Account Closure: When you decide to close a credit card account, it’s essential to disable the account in QuickBooks to prevent any further transactions from being recorded. This action ensures that your financial records remain accurate and that the closed account does not interfere with your ongoing bookkeeping.
Consolidating Accounts: Sometimes, businesses may consolidate multiple credit card accounts into one for better management. Disabling the unused accounts in QuickBooks after consolidation helps keep the Chart of Accounts clean and organized.
Disabling a credit card account in QuickBooks is straightforward and ensures that your financial records reflect only active and relevant accounts.
Steps to Disable a Credit Card
Disabling a credit card in QuickBooks involves marking the account as inactive, effectively removing it from active use while preserving the account history for future reference. Follow these steps to disable a credit card in QuickBooks:
Navigating to the ‘Chart of Accounts’ Screen
To disable a credit card, you’ll first need to navigate to the ‘Chart of Accounts’ screen in QuickBooks. The Chart of Accounts is the central list of all accounts used in your bookkeeping, including bank, income, expense, and credit card accounts.
You can access the ‘Chart of Accounts’ from the main dashboard by selecting the ‘Accounting’ menu and then clicking on ‘Chart of Accounts.’ This will display a list of all the accounts in QuickBooks.
Locating the Credit Card Account to Be Disabled
Once in the ‘Chart of Accounts’ screen, locate the credit card account you want to disable. You can either scroll through the list or use the search bar to find the specific account. The credit card accounts are typically listed under the ‘Credit Card’ category in the Chart of Accounts.
After locating the account, click on it to highlight it. This will allow you to access the account settings and make the necessary changes.
Editing the Account Settings
With the credit card account selected, the next step is to edit the account settings to disable it. Here’s how to do it:
Click on ‘Edit’ or ‘View Register’: Depending on the version of QuickBooks you’re using, you may see an ‘Edit’ button or a ‘View Register’ option next to the account. Click on this to open the account settings.
Mark the Account as Inactive: In the account settings, you can mark the account as inactive. This option may be labeled as ‘Make Account Inactive’ or similar. Click on this option to disable the account.
By marking the account as inactive, QuickBooks will remove it from the list of active accounts. However, the account history and previous transactions will still be accessible if needed for reference.
Confirming the Changes
After marking the account as inactive, QuickBooks will ask you to confirm the changes. This is critical to ensure you didn’t accidentally disable the wrong account.
Review the details of the account you’re disabling and confirm the action. Once confirmed, QuickBooks will update the Chart of Accounts, and the disabled account will no longer appear in the list of active accounts.
Impact of Disabling on Financial Records
Disabling a credit card account in QuickBooks does not delete the account or its transaction history. Instead, it simply hides the account from active use, ensuring that no new transactions can be recorded under that account.
This action helps keep your financial records clean and organized by preventing old or unused accounts from cluttering the Chart of Accounts. The account history remains intact, allowing you to access past transactions for reporting or auditing purposes.
It’s important to note that disabling a credit card account will not affect your financial statements for past periods. All transactions associated with the account will still be included in historical financial reports. However, the account will no longer be available for new transactions, ensuring that your current and future financial records reflect only active accounts.
Best Practices for Managing Credit Card Transactions in QuickBooks
Following best transaction management practices is essential now that you’ve connected your credit card accounts to QuickBooks. This section will provide tips on maximizing the efficiency of your financial management, avoiding common pitfalls, and ensuring that your records remain accurate.
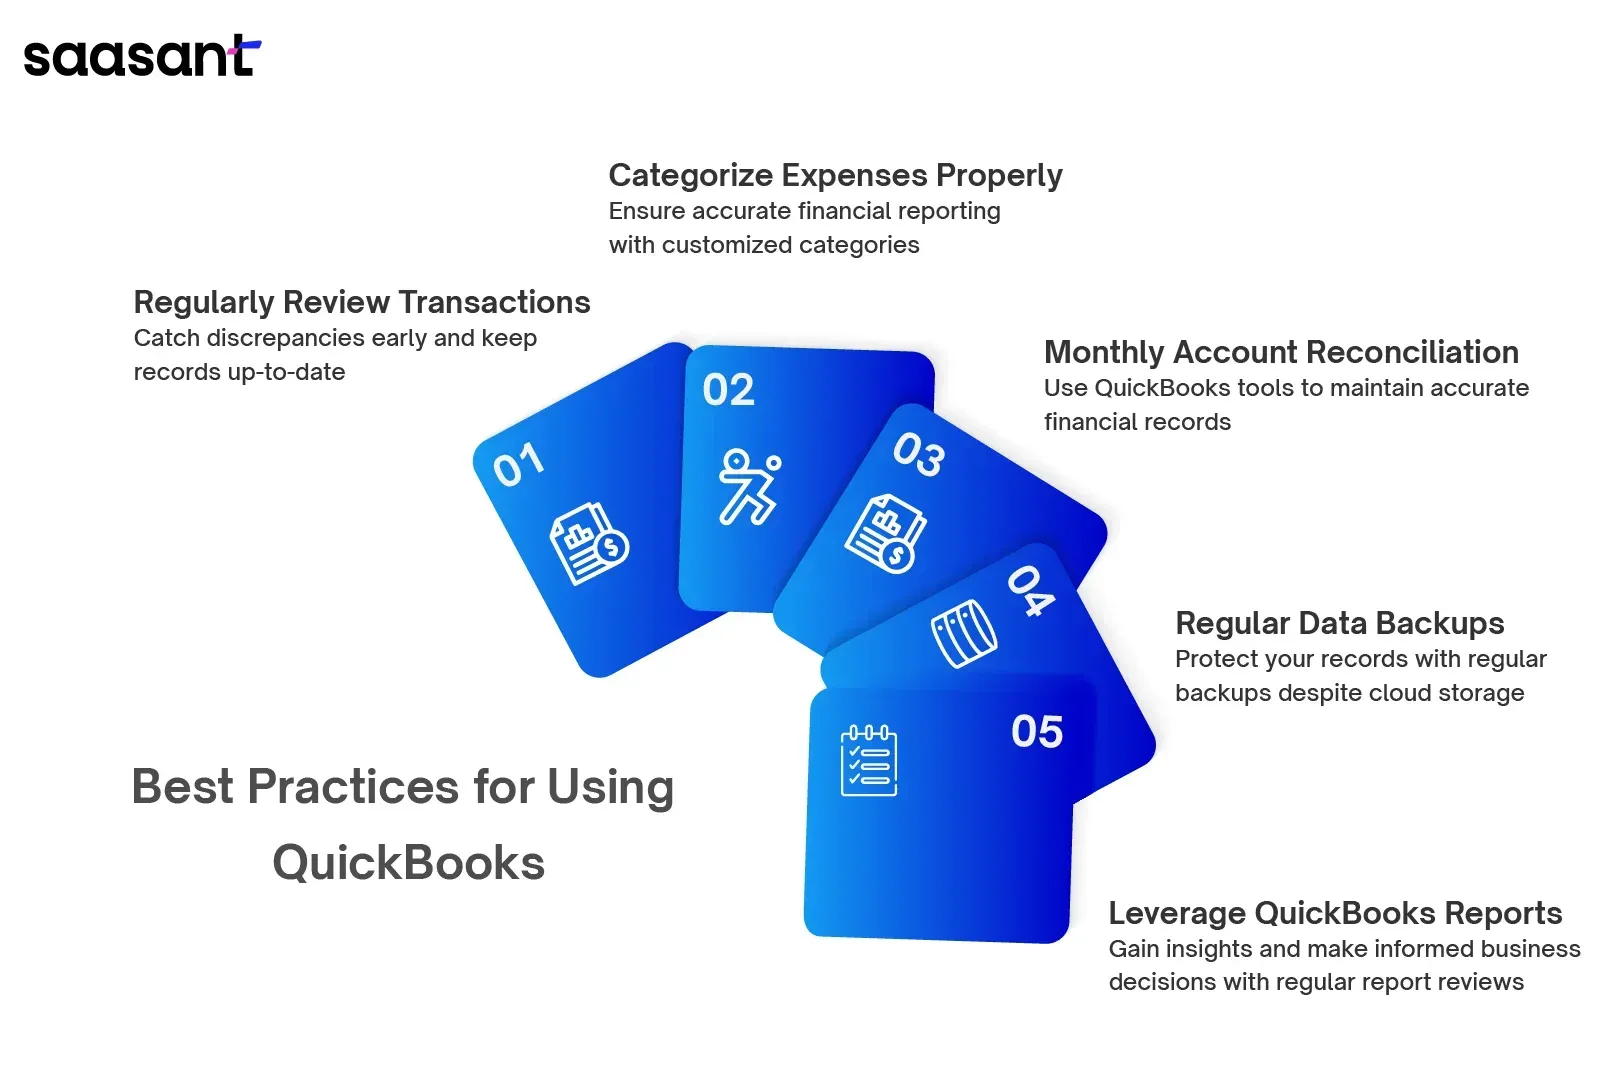
Regularly Review Your Transactions
Even though QuickBooks automates much of the transaction entry process, it’s still important to review your transactions regularly. This will help you catch any discrepancies early and ensure your records are up-to-date.
Categorize Expenses Appropriately
Correctly categorizing your expenses is crucial for accurate financial reporting. QuickBooks allows you to customize categories to suit your business needs, making tracking specific types of costs easier.
Reconcile Your Accounts Monthly
Reconciling your credit card accounts every month is essential for maintaining accurate financial records. QuickBooks’ reconciliation tools make this process straightforward, helping you identify and resolve discrepancies.
Back-Up Your Data Regularly
While QuickBooks offers cloud storage and automatic backups, regularly backing up your financial data is always a good idea. This ensures you have a copy of your records in case of unforeseen issues.
Utilize QuickBooks Reports for Financial Insights
QuickBooks offers a variety of reports that can provide valuable insights into your financial performance. Regularly reviewing these reports can help you make informed decisions about your business.
Conclusion
Managing credit cards in QuickBooks is a powerful way to streamline your financial management processes, reduce the risk of errors, and ensure that your records are always up-to-date. Connecting your credit card accounts to QuickBooks lets you use automatic transaction downloads, simplified reconciliation, and accurate expense tracking.
Following the step-by-step guide in this blog, you can easily connect your credit card accounts and start benefiting from the efficiency and accuracy of QuickBooks. By adhering to best practices and regularly reviewing your transactions, you’ll be well on your way to maintaining accurate financial records and making informed decisions for your business.
Whether you’re a small business owner or managing the finances of a larger organization, QuickBooks provides the tools you need to stay on top of your credit card transactions and ensure the financial health of your business.
Conclusion
1. How do I add a credit card account in QuickBooks Online?
To add a credit card account in QuickBooks Online, navigate to the ‘Chart of Accounts’ screen via the ‘Accounting’ menu. Click on ‘New,’ select ‘Credit Card’ as the account type, enter the necessary details like account name and opening balance, and then save the account. This will allow you to track your credit card transactions directly in QuickBooks.
2. Can I connect my credit card account directly to QuickBooks?
Yes, you can connect your credit card account directly to QuickBooks. Go to the ‘Banking’ or ‘Transactions’ tab, select ‘Connect Account,’ and choose your credit card provider from the list. Enter your login credentials to authorize the connection, and QuickBooks will automatically download and categorize your transactions.
3. How do I reconcile my credit card transactions in QuickBooks?
To reconcile your credit card transactions, go to the ‘Accounting’ menu and select ‘Reconcile.’ Choose your credit card account and enter the statement date and ending balance from your credit card statement. QuickBooks will display all transactions; match these with your statement to ensure accuracy and resolve discrepancies.
4. Can I edit or add memos to my credit card transactions in QuickBooks?
Yes, you can edit or add memos to your credit card transactions. Locate the transaction in the ‘Chart of Accounts’ or use the search function. Open the transaction, modify or add the memo in the designated field, and save the changes to update your records.
5. What should I do if I need to disable a credit card account in QuickBooks?
If you need to disable a credit card account in QuickBooks, navigate to the ‘Chart of Accounts,’ locate the account, and select ‘Edit’ or ‘View Register.’ Mark the account as inactive. This will prevent any new transactions from being recorded under that account while keeping the account history intact for future reference.
6. How do I accurately record my credit card payments in QuickBooks?
To accurately record credit card payments, go to the ‘Pay Bills’ screen, select the credit card account to pay, enter the payment details, and assign the payment to the appropriate account. This ensures the payment reduces the balance on the credit card and is reflected correctly in your financial records.
7. What are the best practices for managing credit card transactions in QuickBooks?
Best practices include regularly reviewing your transactions for accuracy, categorizing expenses appropriately, reconciling your accounts monthly, backing up your data regularly, and utilizing QuickBooks reports for financial insights. Following these practices helps maintain accurate records and supports informed financial decision-making.
Recommended reading:
How to Upload Credit Card Statements into QuickBooks Online
How to Categorize Credit Card Payments in QuickBooks
How to Import Credit Card Statements into QuickBooks
s Online