How to Export Journal Entries from QuickBooks Desktop
Exporting journal entries from QuickBooks Desktop isn't something you do every day, but when it’s necessary —whether for audits, analysis, or backup —it needs to be done quickly and correctly. Manual data extraction can be slow and susceptible to errors. SaasAnt Transactions Desktop automates the export process and efficiently extracts journal entries, ensuring your data remains accurate and your workflow is smooth. This guide will take you through each step to export journal entries from QuickBooks Desktop into Excel or CSV using SaasAnt.
A small business owner had to submit monthly journal entries to their accountant for tax filing purposes. With SaasAnt Transactions Desktop, they quickly exported accurate data from QuickBooks Desktop, saving hours of manual effort and avoiding year-end reporting delays.
This blog is ideal for accountants, bookkeepers, and small business owners who frequently need to back up or analyze class data from QuickBooks Desktop.
Contents
How to Export Journal Entries from QuickBooks Desktop: Step-By-Step Guide
Wrap Up
Frequently Asked Questions
How to Export Journal Entries from QuickBooks Desktop: Step-By-Step Guide
Follow the steps below to export the journal entries in QuickBooks Desktop using SaasAnt Transactions Desktop.
Step 1: Install and Connect SaasAnt Transactions
Download the latest SaasAnt Transactions Desktop version.
Run SaasAntTransactions-Setup.exe as an administrator.
Accept the license agreement and complete the installation.
Open the app, go to Subscription > Register.
Enter the license key from your confirmation email.
Keep your internet connection active.
Step 2: Launch SaasAnt Transactions Desktop
Start by opening the SaasAnt Transactions Desktop app on your system.
Ensure that QuickBooks Desktop is open and connected to your company file before proceeding.
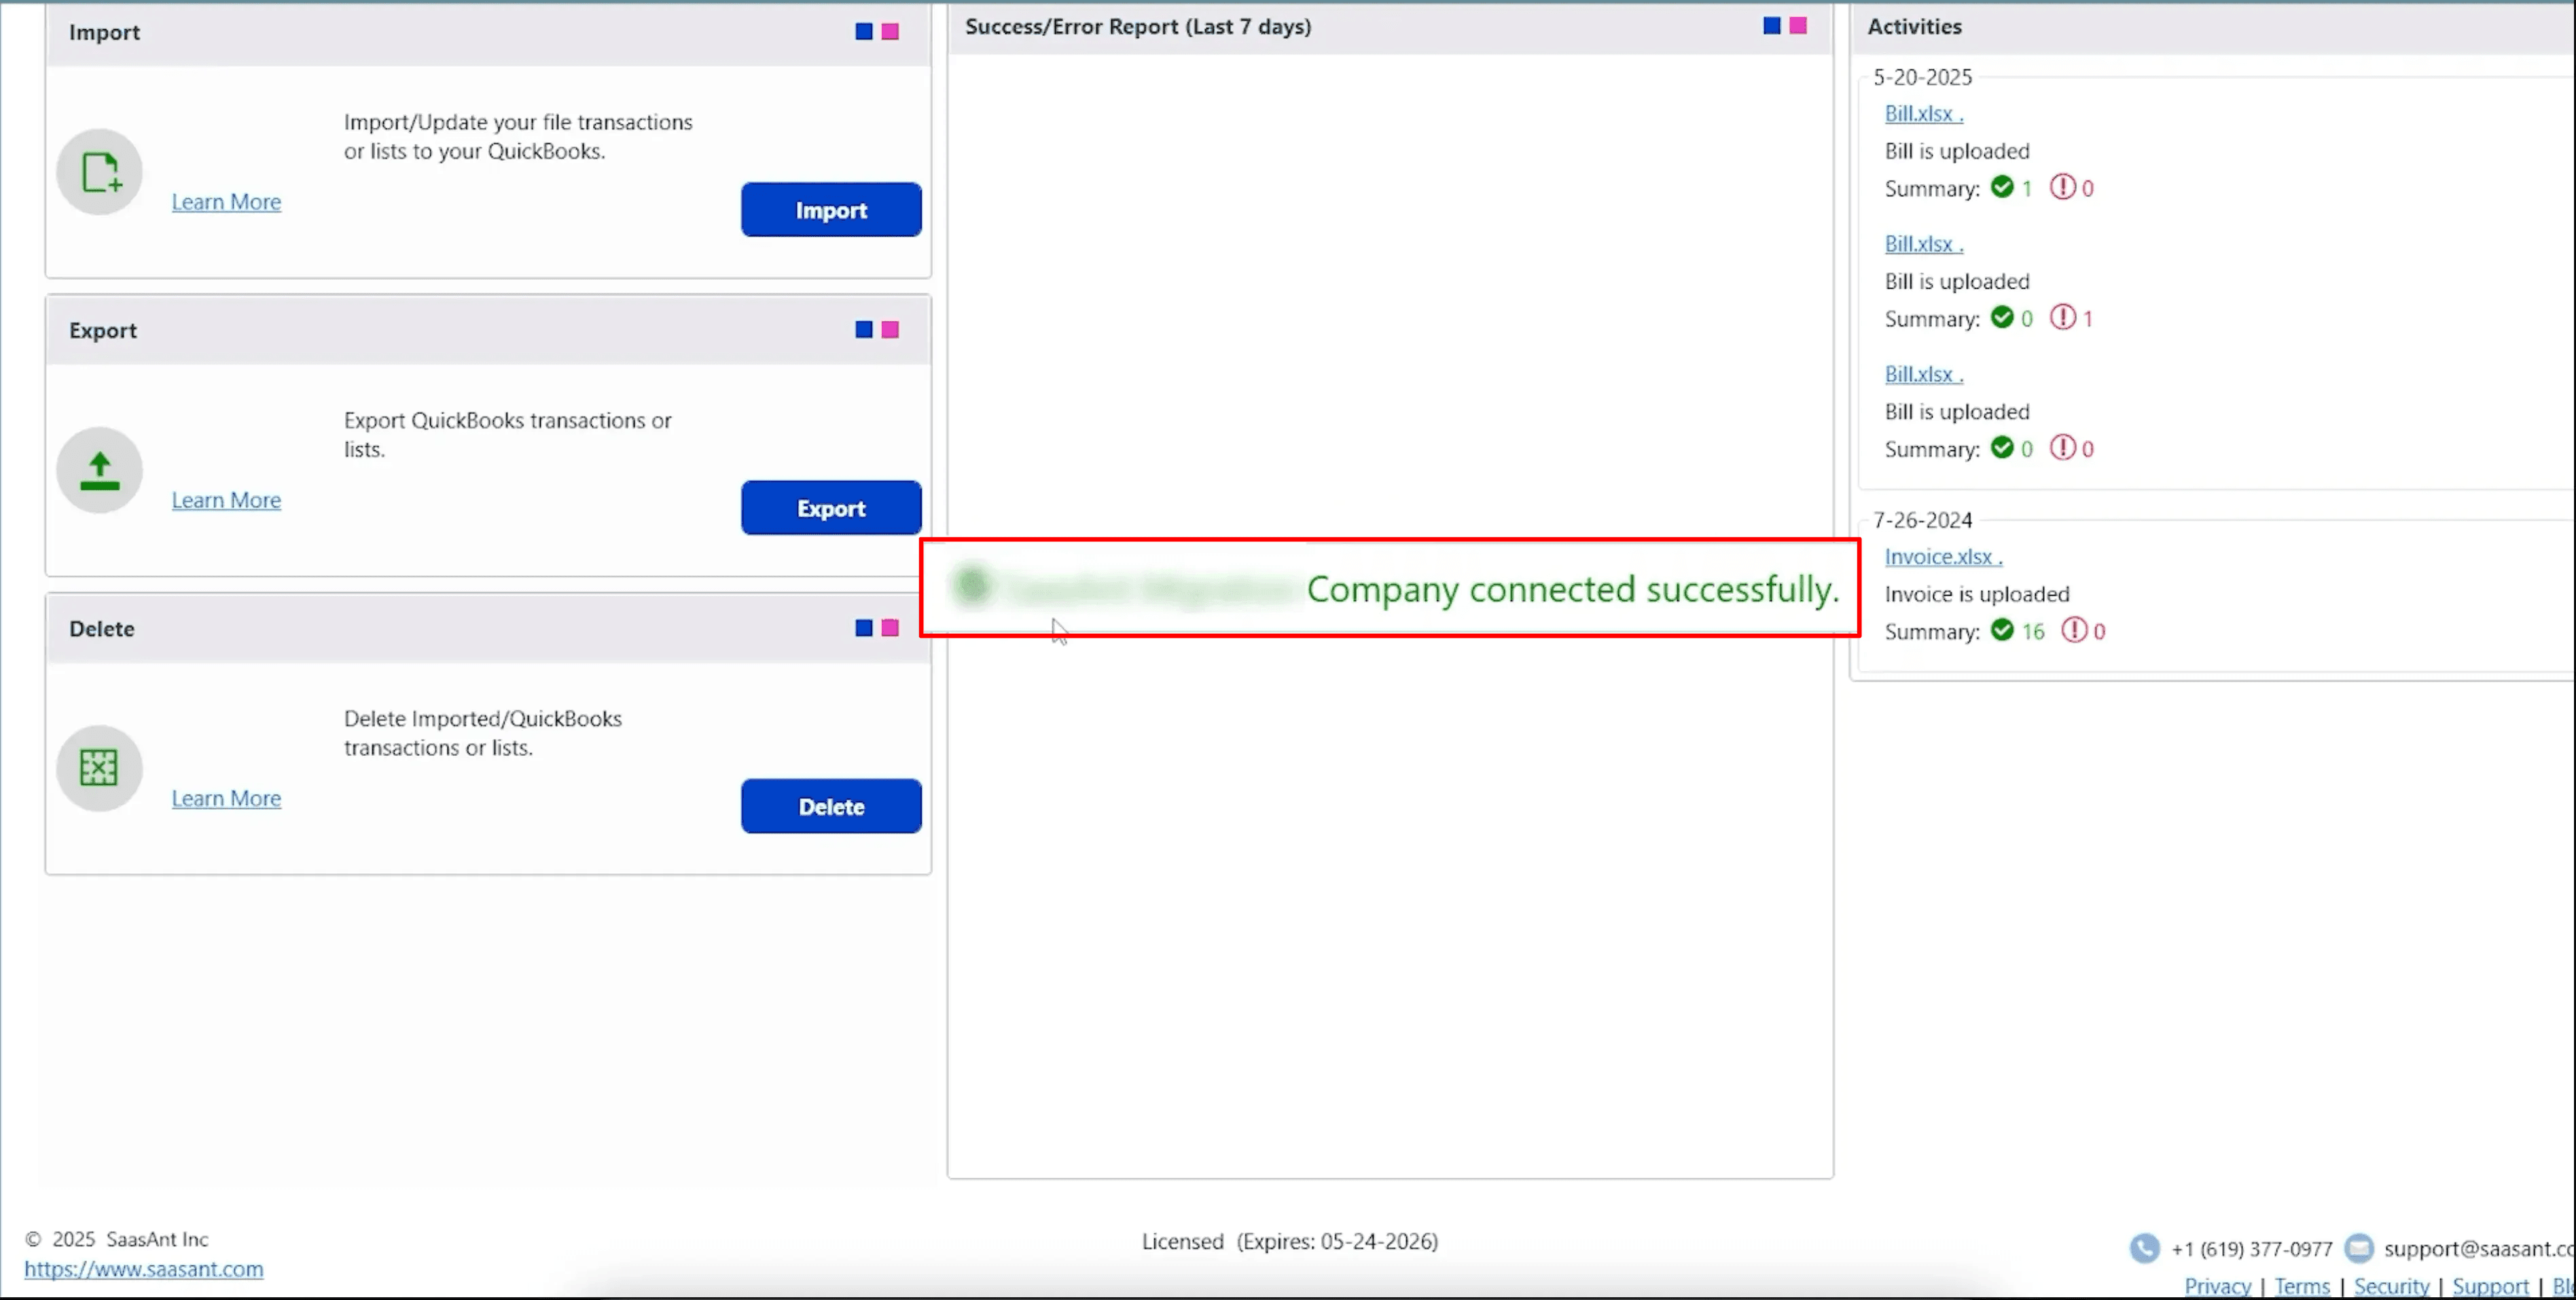
Step 3: Connect to QuickBooks Desktop
To connect SaasAnt Transactions Desktop with QuickBooks Desktop. Here's how:
Go to the ‘File’ menu in the top-left corner of SaasAnt Transactions Desktop.
Click ‘Connect to QuickBooks’ from the dropdown.
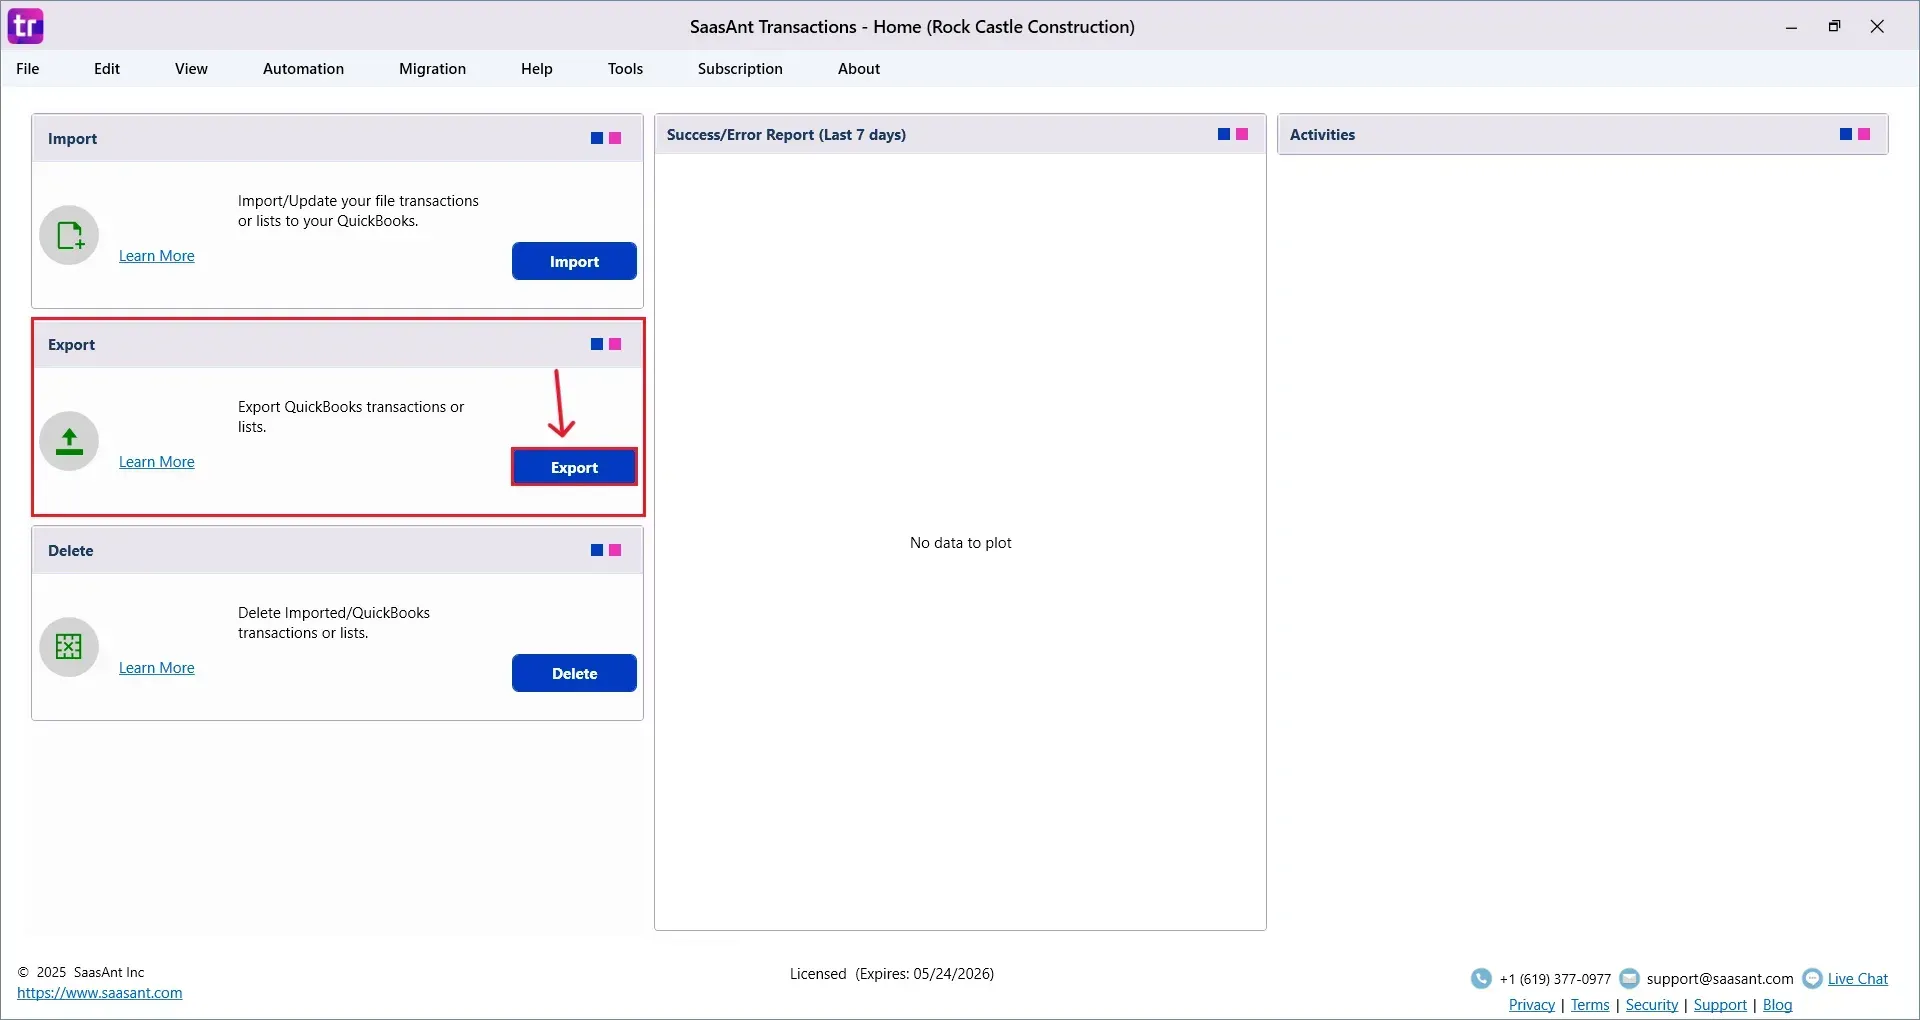
Step 4: Open SaasAnt Transactions
On the SaasAnt dashboard:
On the top left side of the SaasAnt Transactions dashboard, you can see the menu bar with various options.
The Dashboard appears as shown in the image below.
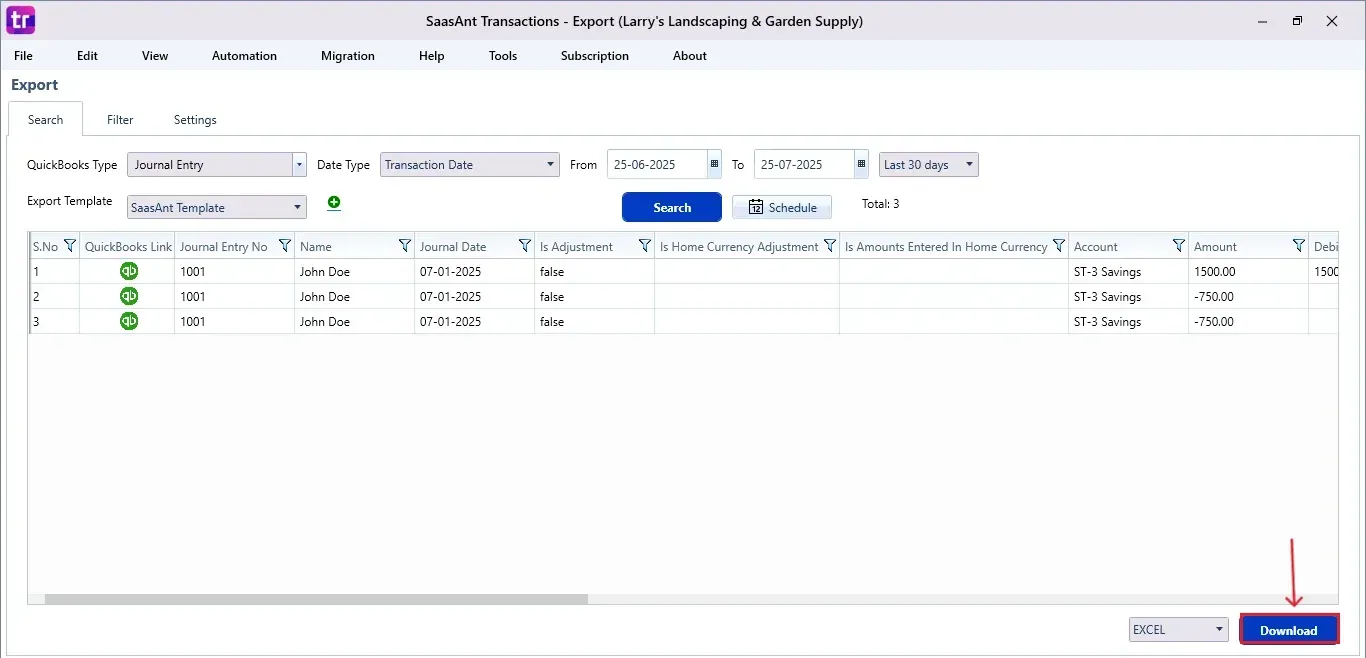
Step 5: Search and Download Journal Entries
Fill in the required fields, such as QuickBooks Type, Date Type, From Date, To Date, and Export Template.
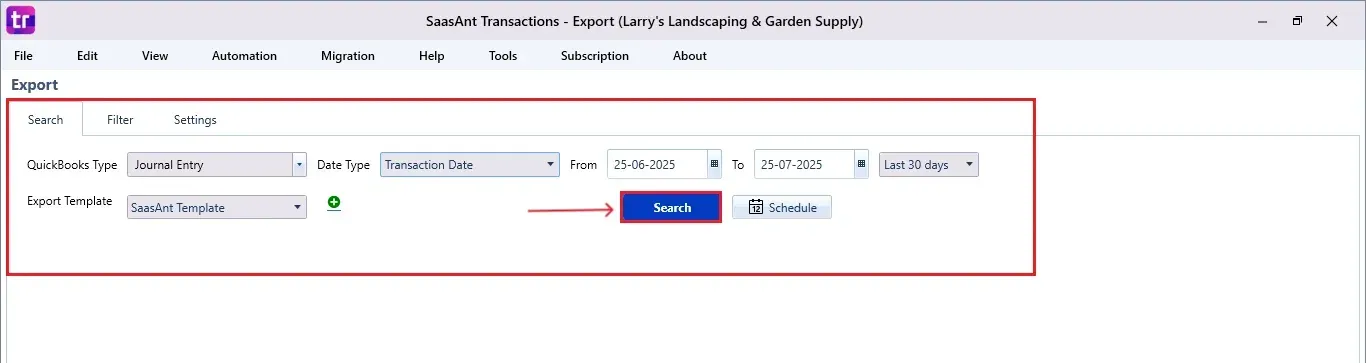
Click “Search,” and the Journal Entries appear in the dashboard. Now select “Download” in Excel or CSV.
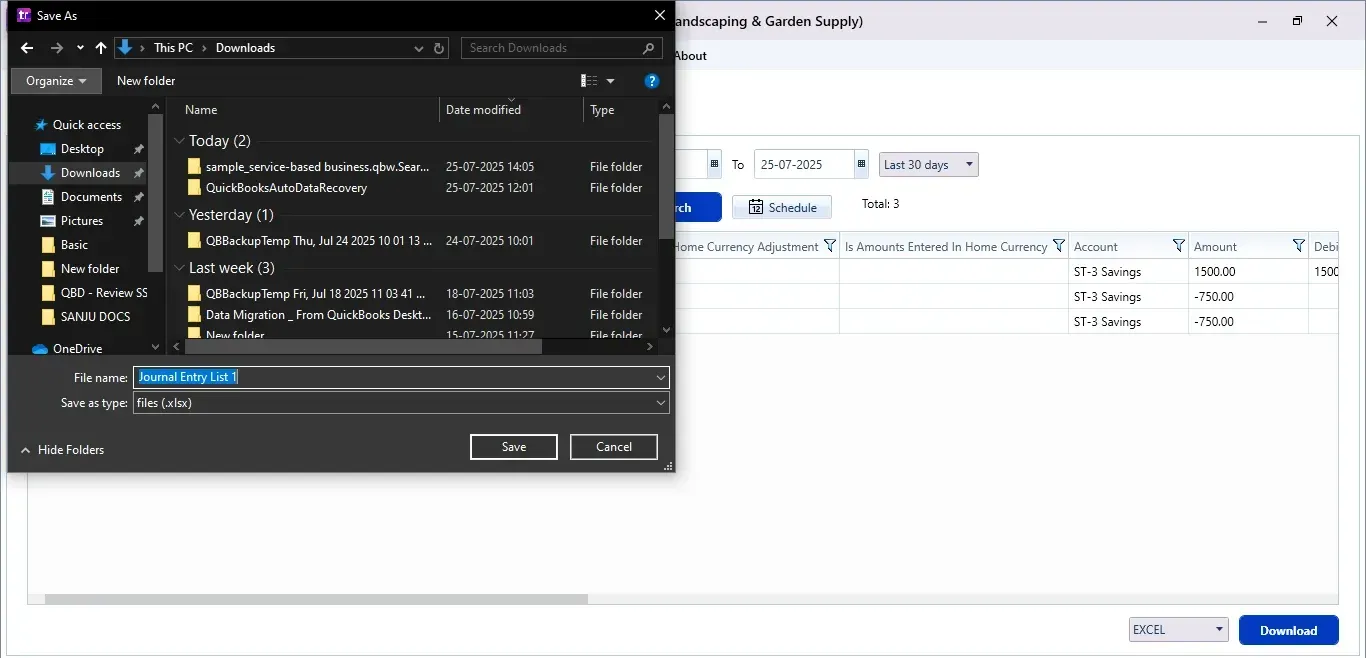
Step 6: Export the Data
Choose the file location when the pop-up appears.
Save the exported Journal Entries to your system.
Step 7: Schedule Export (Optional)
There is another option, “Schedule”, where you can schedule the export of your data.
Fill in the required fields, such as report name, frequency (daily, weekly, or monthly), time, export mode (local, server, or email), folder location, and file format.
Once all fields are filled, click “Save”. Your Journal Entries (or any selected data) will now be exported at the scheduled time and location.


Wrap Up
Exporting journal entries from QuickBooks Desktop can be simple. With SaasAnt Transactions Desktop, you can simplify the entire process, whether you need a one-time export or a regular backup. This saves you time and ensures your financial data is easily accessible for reporting, audits, or strategic decision-making.
By leveraging trustworthy platforms like QuickBooks for your accounting processes and SaasAnt for transaction management and automation, you can enhance the overall workflow, minimize errors, save time, and acquire greater financial insight.
If you have inquiries regarding our products, features, trial, or pricing, or if you require a personalized demo, contact our team today. We are ready to help you find the ideal solution for your QuickBooks workflow.
Frequently Asked Questions
1) What format will the exported journal entries be saved in?
Journal entries can be exported in several formats, including Excel (XLS/XLSX) or CSV, depending on your choice.
2) Can I export journal entries from a specific date range?
Of course. You can define custom date ranges using the “From Date” and “To Date” fields in SaasAnt.
3) Is it possible to schedule journal entry exports automatically?
Yes, SaasAnt lets you schedule exports daily, weekly, or monthly.
4) Can I use SaasAnt for exporting other QuickBooks data types?
Yes, SaasAnt can export various data types, including invoices, bills, payments, and more.
Tags
Read also
Importing Journal Entries into QuickBooks Desktop from Excel
How to Delete Journal Entries in QuickBooks Desktop
QuickBooks Desktop to QuickBooks Online Migration: Your Ultimate Guide
How to Export Data from QuickBooks Desktop to Excel