How to Delete Vendor Credits in QuickBooks Online?
Getting rid of vendor credits is rarely about the button you click, it is about clearing the road so payables, cash flow, and inventory numbers tell the truth. You may search “how to delete vendor credits in QuickBooks Online” when credits pile up after duplicate imports, old returns, or migration mistakes. Using SaasAnt Transactions, an Accountant's Favorite and User's choice award-winning app, you can clear hundreds of stray credits in minutes, then re-run A/P reports without the red ink that was hiding real liabilities. The guide below explains why these credits appear, what you can try before they reach for the delete tool, and how a careful cleanup fits into month-end and audit prep. Real stories—from a multi-location café and a construction contractor—show how a credit cleanup changes the rest of the workflow.
Why may you need to delete vendor credits?
Duplicate imports – a CSV or bank‐feed rule posts the same return twice, creating a negative vendor balance that throws off A/P aging.
Stale credits – return or overpayment credits remain open for years because no one applied them before the period closed.
Migration debris – Desktop-to-Online moves and third-party sync apps sometimes create credits for every open PO or return, flooding the ledger.
Overpayments booked as credits – suppliers issue a credit note instead of a cash refund when bills were paid twice.
Inventory cost corrections – price changes recorded as credits clash with later manual adjustments and skew cost of goods sold.
When any of these land on a month-end checklist, the bookkeeper’s next search is usually “how do I delete vendor credits.
What happens before the delete
Vendor statement tie-out – comparing PDF statements to QuickBooks exposes credits that never matched a bill.
Bank feed match – a supplier refund in the feed will not match because the related credit sits on the wrong vendor.
Controller review – open credit rows in A/P Aging are flagged as part of close procedures.
QuickBooks lets you delete one credit at a time. SaasAnt Transactions adds a search-and-destroy panel where you can filter by vendor, date, amount, then bulk delete. The process is:
Initiate Cleanup – choose Delete, pick Vendor Credits, and load a search filter.
Preview the list – SaasAnt shows every credit that matches, so you can untick anything created in a locked period.
Click Delete – the app sends the delete API call to QuickBooks for each selected credit. Success notifications include a tally for audit backup.
How to Delete Vendor Credits in QuickBooks Online- A Step-by-Step Guide
Incorrect or outdated vendor credits can clutter your QuickBooks records and disrupt accurate reporting. Instead of deleting them individually, SaasAnt Transactions offers a faster, more reliable way to remove these entries in bulk. Let’s learn how to efficiently delete vendor credits in SaasAnt Transactions, saving time and keeping your books clean and compliant.
Step 1: Log Into SaasAnt Transactions
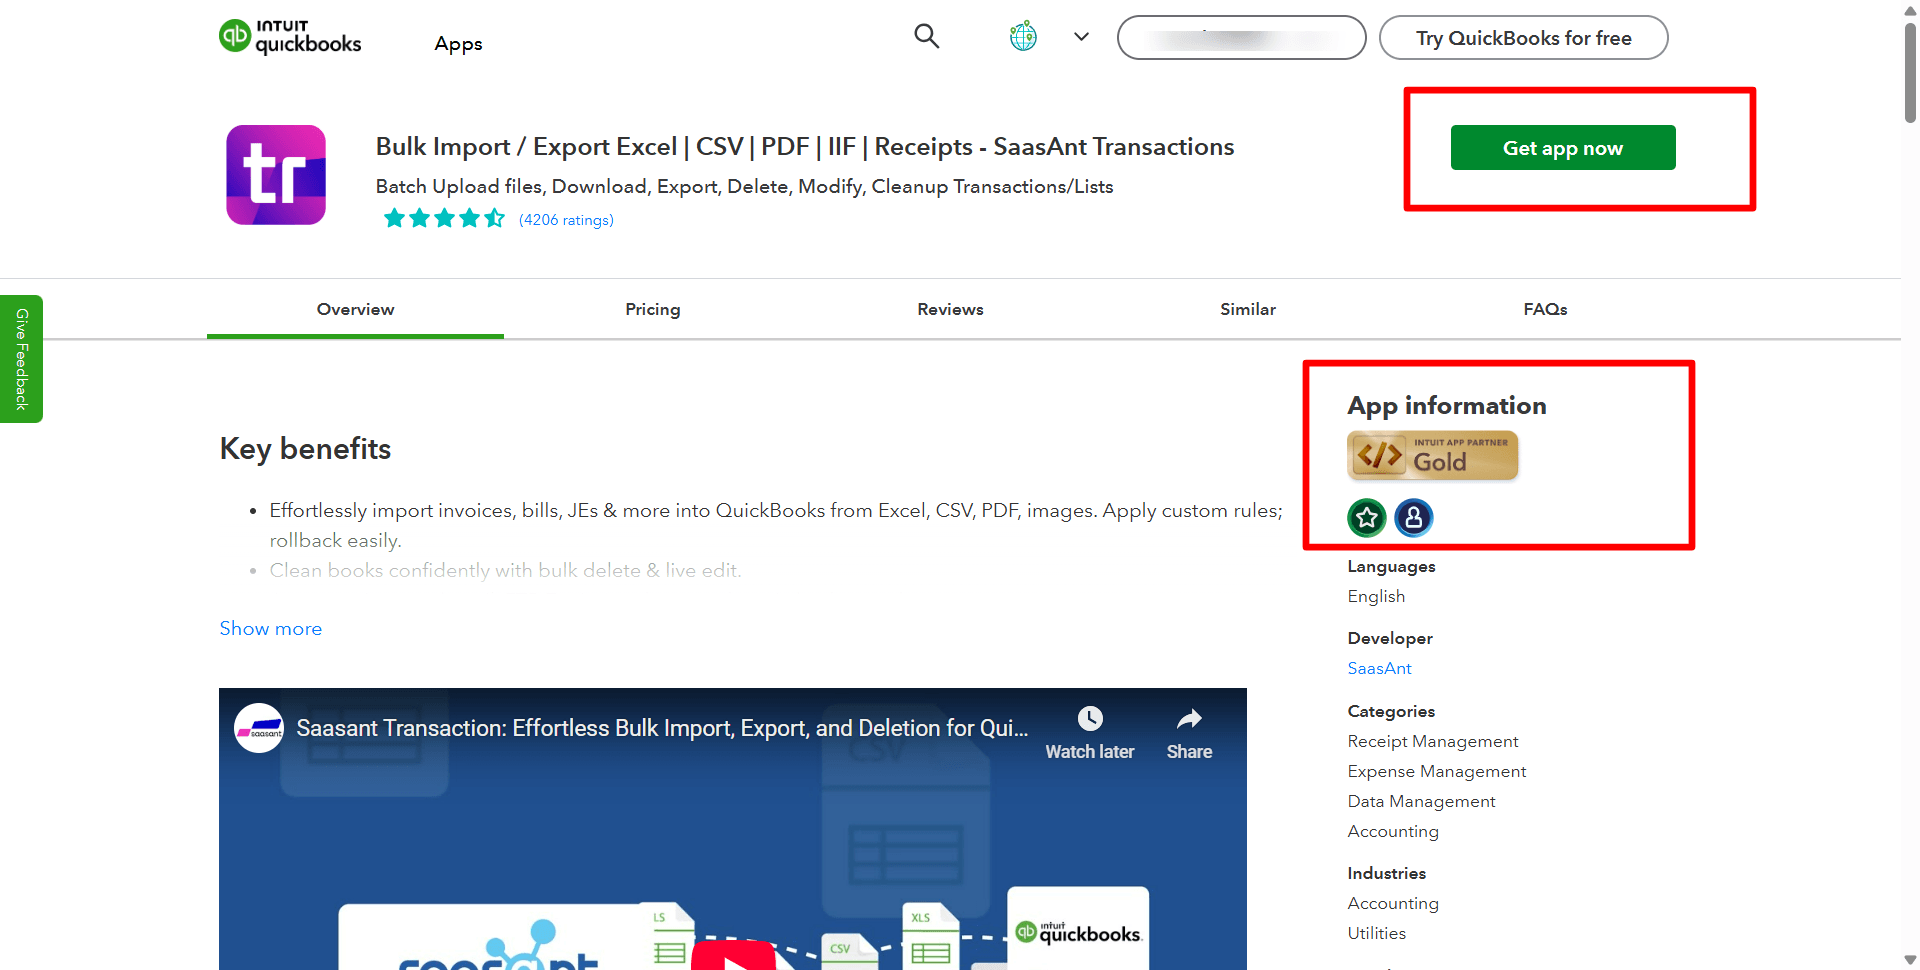
Start by searching for SaasAnt Transactions in the QuickBooks App Store and click Get App Now.
Use your Intuit credentials, the same credentials you use for QuickBooks Online to log in.
After logging in, you will be prompted to select a company.
From the list of available companies, select the appropriate company associated with the Vendor Credits you intend to delete.
Note: Always verify that SaasAnt Transactions is connected to the correct QuickBooks Online company to prevent deletion from an unintended account.
Step 2: Access the Delete Section and Initiate the Cleanup Process
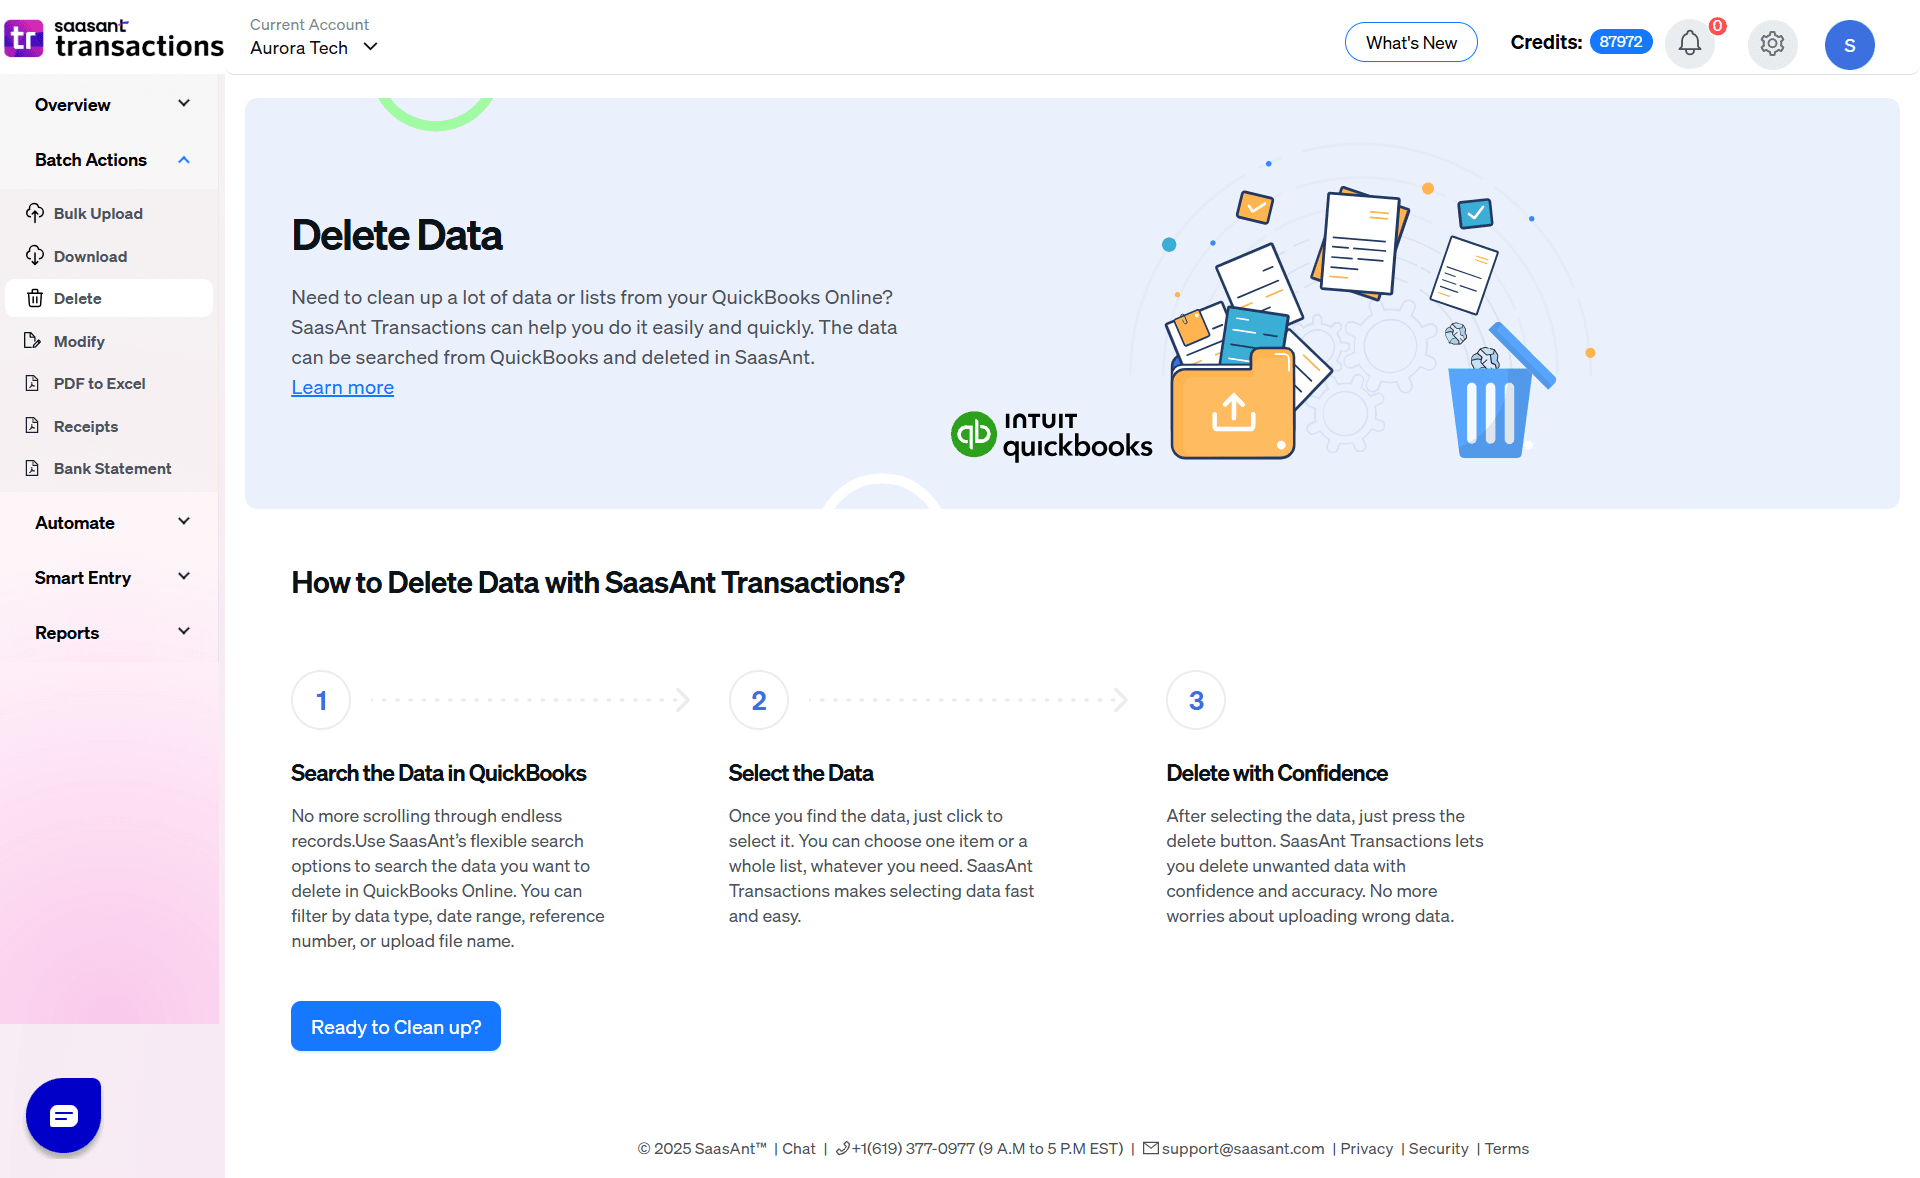
Once the appropriate company is selected, navigate to the left-hand panel and click on the 'Delete' option.
Select the ‘Ready to clean up’ button to proceed.
Alternatively, click the ‘Quick Access’ menu on the left, typically near the top.
In this section, select ‘Delete’ to access the deletion interface, and then click ‘Initiate Cleanup’ to begin the data deletion process.
Step 3: Choose the Deletion Method
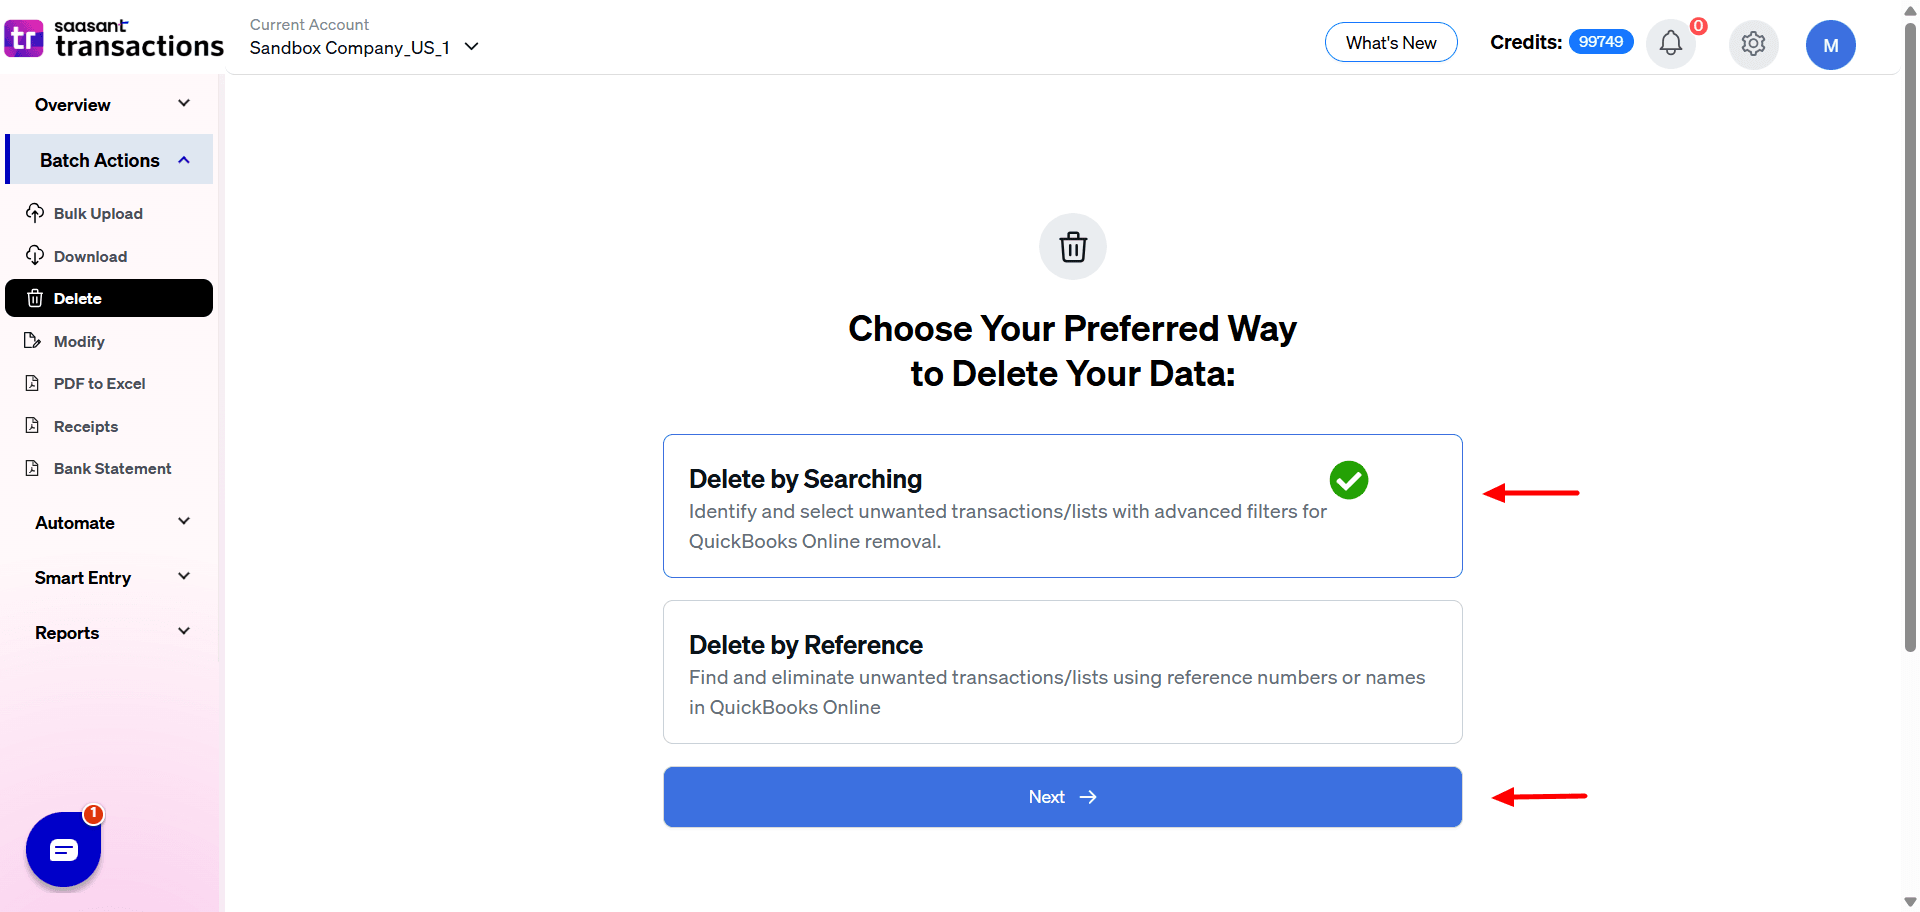
After initiating cleanup, the system will prompt you to choose a deletion method:
Delete by Reference: Use this option if you know the exact Vendor Credit numbers.
Delete by Searching: Select this method if you need to locate Vendor Credits using filter criteria due to a lack of specific references.
Choose the desired option and click ‘Next’ to continue.
Step 4: Filter and Identify Vendor Credits to Be Deleted
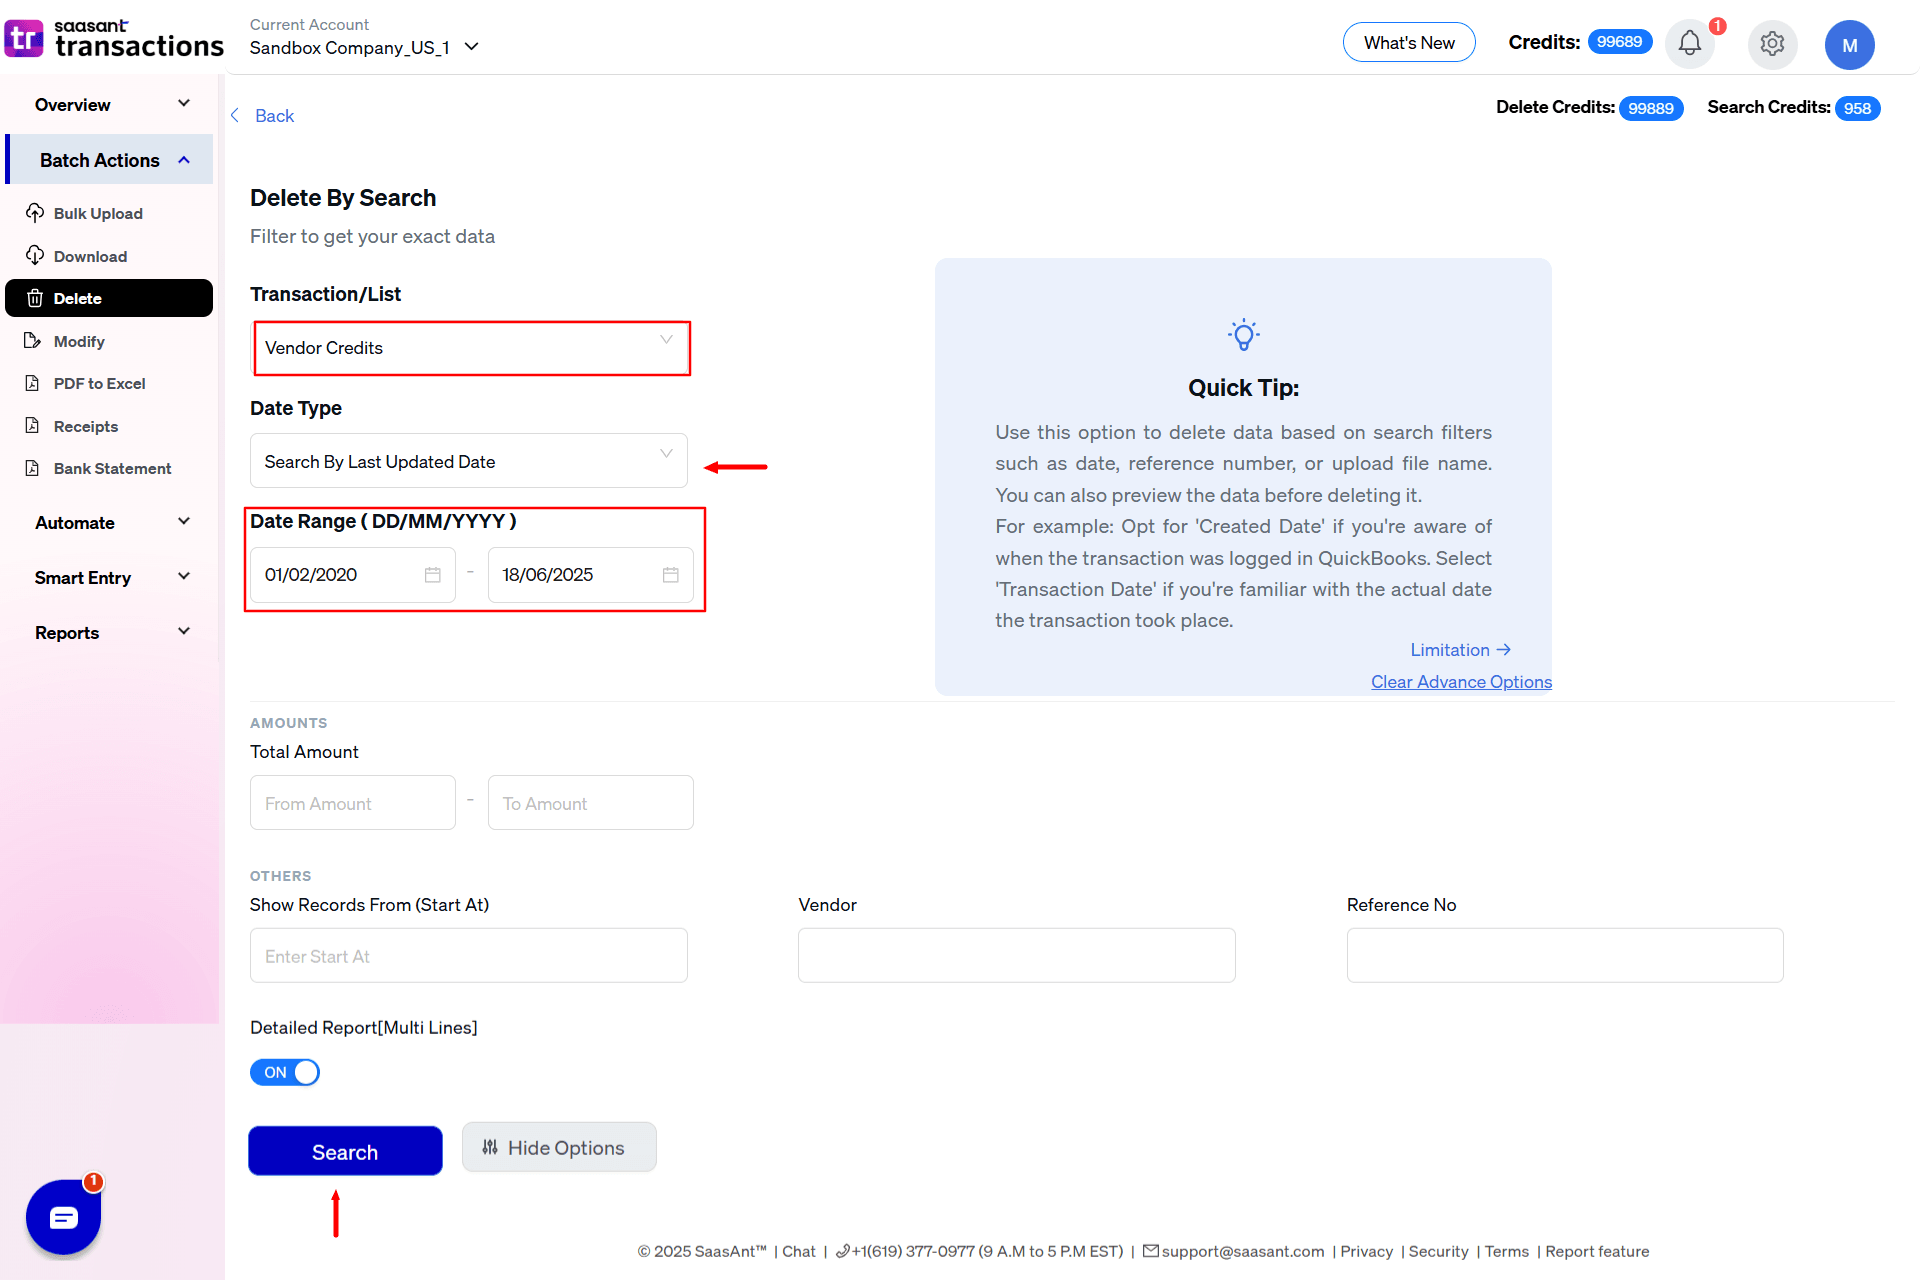
You will now specify the type of transaction to be deleted.
Select ' Vendor Credits ' from the ‘Transaction/List’ dropdown menu.
Other options in this list may include Bills, Bill Payments, Checks, Vendors, Credit Memos, Credit Card Credits, Expenses, Estimates, Invoices, and more.
After selecting Vendor Credits, apply the necessary filters to narrow your search:
Date Type Filter – Choose from:
Search by Created Date
Search by Transaction Date
Search by Last Updated Date
Date Range: Specify the date range to locate the relevant Vendor Credits.
Note: For users operating under the Trial or Launch versions of SaasAnt Transactions, ensure the selected date range is within the recent or latest six months.
Once you have set the required filters, click the ‘Search’ button; a list of matching ‘Vendor Credits’ will be displayed based on your criteria.
Step 5: Review, Confirm, and Delete Vendor Credits
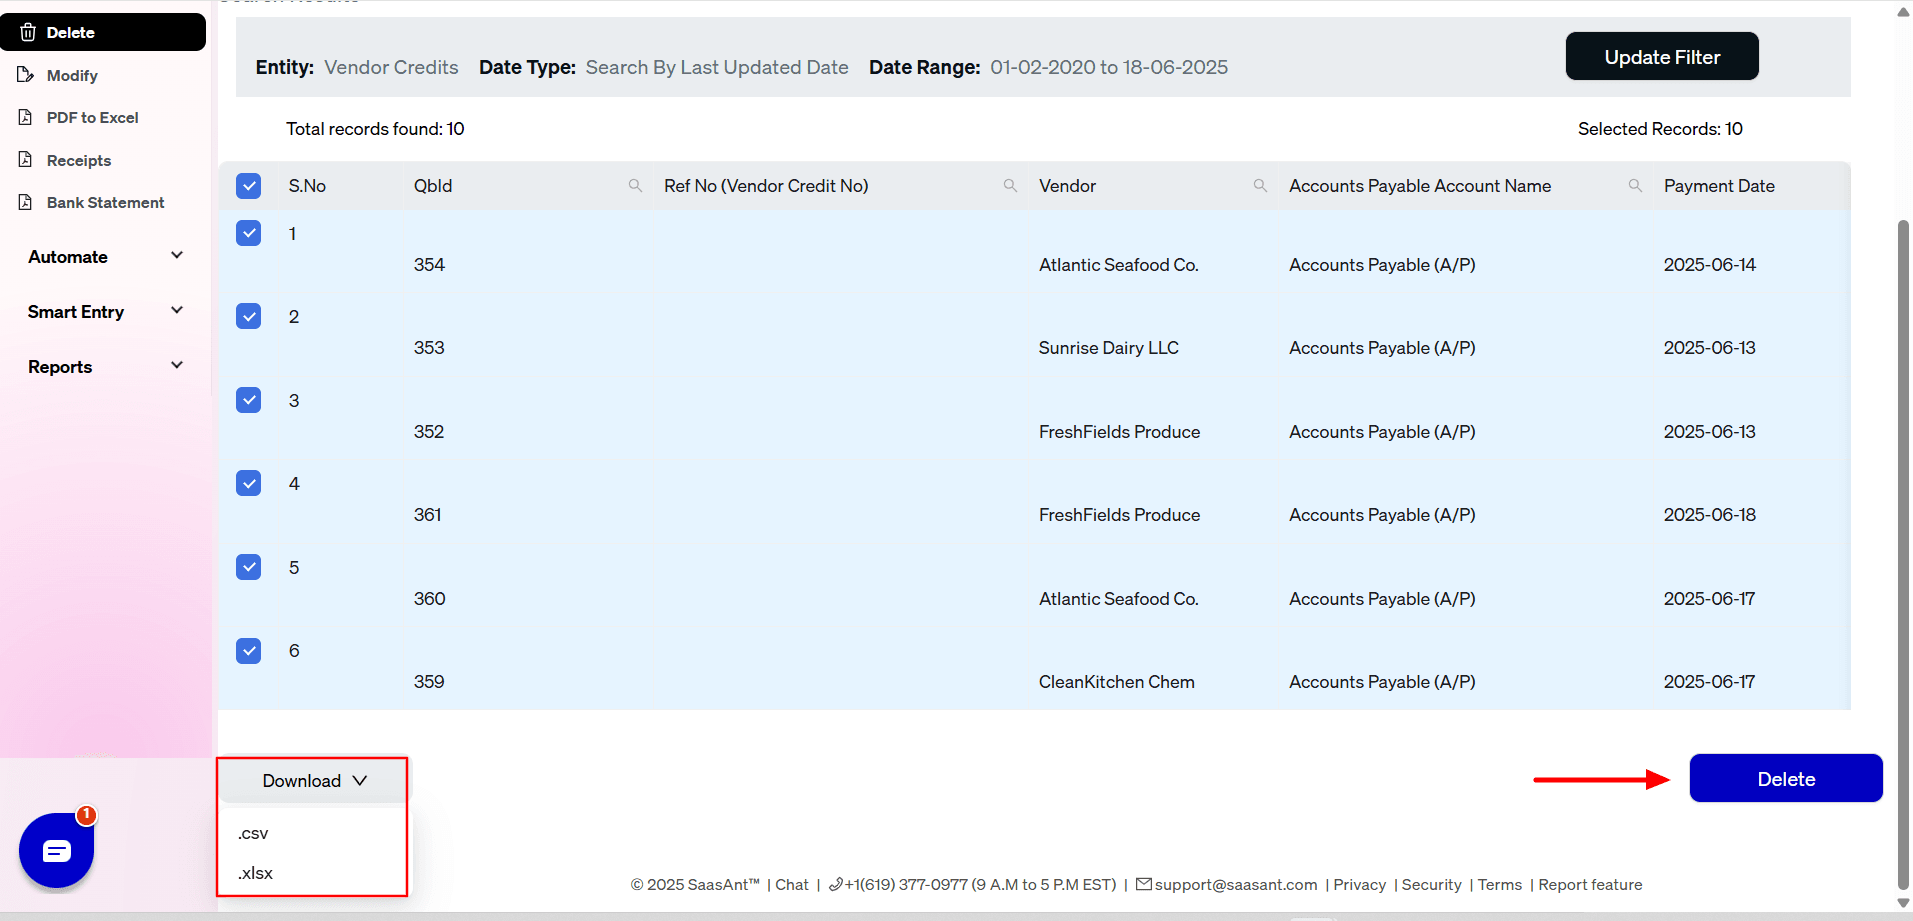
Examine the list of Vendor Credits generated by your search.
Select the entries you wish to delete by checking the corresponding boxes.
Once your selections are made, click the ‘Delete’ button.
A confirmation prompt will appear. Click ‘OK’ to complete the process.
The selected Vendor Credits will now be permanently removed from your QuickBooks Online account.
Caution: This action is irreversible. Please ensure that all selected entries are accurate and intended for deletion before confirming.
Real world examples
A café noticed negative payables after a produce supplier return was imported twice. Weekly reconciliation flagged nine credits worth nine thousand dollars. The bookkeeper filtered SaasAnt by vendor and date, deleted the duplicates, and re-ran A/P Aging. The ledger matched the supplier statement and cash requirement projections stopped dipping below zero unexpectedly. The entire fix took fifteen minutes instead of the four hours of manual deletes they attempted the week before.
A contractor audited by its bonding company had fifteen credits from over-billed materials in 2022. ERP rules forbid changing filed years, so the bookkeeper created a current-year bill to offset each credit, applied them, and left the 2022 P&L intact. Intuit’s help article recommends the same reverse-through-a-bill approach for closed periods.
After the cleanup
Match refunds – deposit refund checks to Accounts Payable, then apply them to any remaining credits.
Lock the books – set a closing date password to stop new credits sneaking into prior periods.
Re-check 1099 totals – reducing vendor payments affects the annual form if the vendor is 1099-eligible.
Compliance checkpoints
Deleting credits in a locked period opens that period unless you offset with a new-year bill or journal entry.
The audit log keeps a record of every deleted credit, so document your reason in work papers.
Inventory items tied to credits update average cost; confirm COGS does not swing after cleanup.
Key takeaways
Vendor credits hide real liabilities and confuse bank-feed matching.
Bulk deletion with SaasAnt turns a multi-hour manual job into minutes of filtered clicks.
Always back up with Vendor Balance Detail and lock periods once cleanup is finished.
Think of credit cleanup as part of vendor reconciliation, refund matching, and cost control, not an isolated task.
Wrap Up
Cleaning up vendor credits in QuickBooks Online might seem minor, but its impact on your financial clarity is far from small. Cluttered records can easily lead to reporting inaccuracies, reconciliation issues, and unnecessary confusion during audits. That’s where SaasAnt Transactions steps in, not just as an application but as a time-saver for businesses prioritizing accuracy and efficiency.
Instead of spending hours manually deleting outdated vendor credits, SaasAnt Transactions lets you take control of your data in just a few clicks. Its smart filters, bulk deletion options, and user-friendly interface ensure that you only remove what truly no longer belongs in your books- nothing more, nothing less.
FAQs
How Do I Delete Vendor Credits in QuickBooks Online Using SaasAnt Transactions?
To delete vendor credits in QuickBooks Online using SaasAnt Transactions:
Log in to SaasAnt Transactions using your Intuit credentials.
Choose the correct QuickBooks Online company.
Navigate to the ‘Delete’ section and select ‘Initiate Cleanup.’
Choose your preferred deletion method: Delete by Reference or Delete by Searching.
Select ‘Vendor Credits’ from the transaction list.
Apply date filters and click ‘Search.’
Select the vendor credits you wish to delete and click ‘Delete.’
Confirm the deletion to remove the entries permanently.
Can I Bulk Delete Vendor Credits in QuickBooks Online?
Yes, you can bulk delete vendor credits in QuickBooks Online using SaasAnt Transactions. After filtering the data by transaction type and date range, select multiple vendor credits from the result list and click 'Delete' to remove them in one action. This method is significantly faster than deleting entries individually within QuickBooks Online.
Can Deleted Vendor Credits in QuickBooks Online Be Restored After Using SaasAnt Transactions?
No, deleted vendor credits cannot be restored. The deletion is permanent and irreversible. It is strongly recommended to review all selected entries thoroughly and, if needed, back up your data before proceeding with the deletion.
Read also
How to Apply Vendor Credit in QuickBooks Online: A Complete Guide
Create Vendor Credits in QuickBooks Online
Import Vendor Credits into QuickBooks Online: A Step-by-Step Guide
How to Edit Vendor Credits in QuickBooks Online?