How to Delete a Vendor in QuickBooks Online?
A clean and organized vendor list is essential for accurate reporting and efficient bookkeeping. Over time, your list can become cluttered with duplicate entries, one-off suppliers, or companies you no longer work with.
But before you start deleting, it's crucial to understand one key concept: in QuickBooks Online, you don't truly "delete" a vendor with a transaction history. Instead, you make them inactive. This is a powerful feature, not a limitation. It hides the vendor from your active lists and menus while preserving their historical data, ensuring your past financial reports remain accurate and your audit trail stays intact.
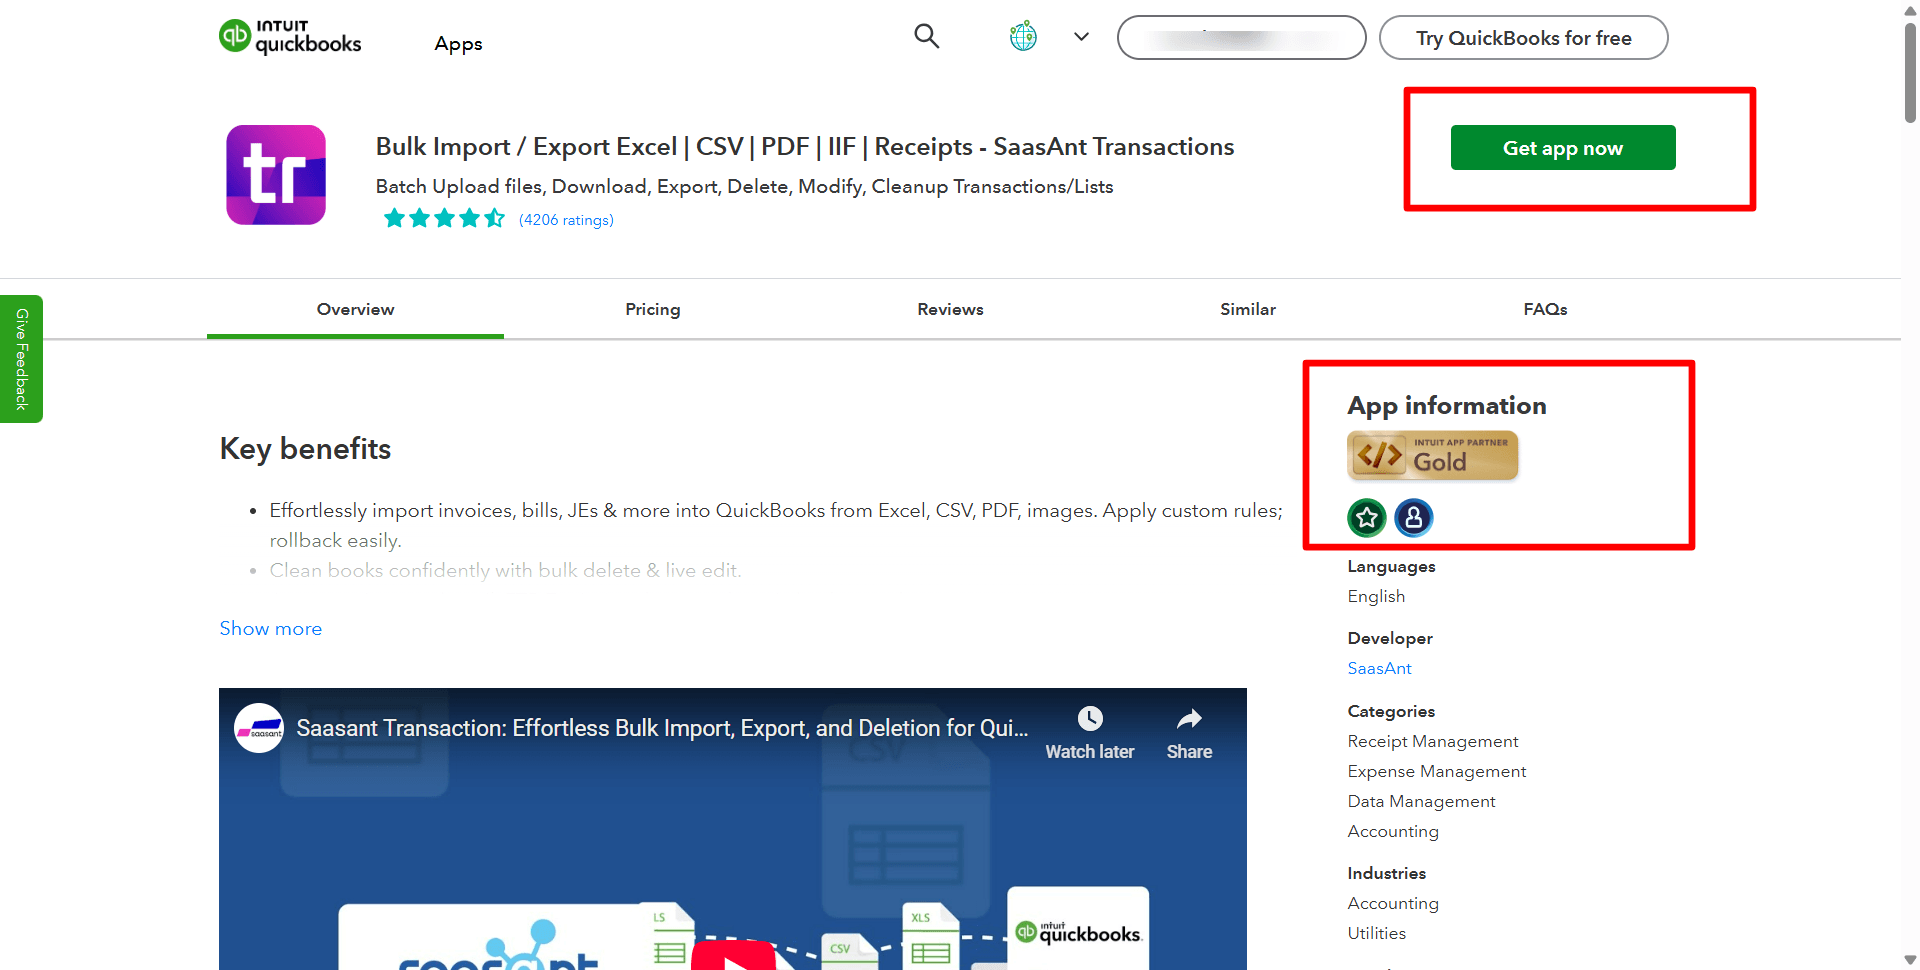
This guide will walk you through why, when, and how to safely "delete" (or inactivate) vendors in QuickBooks with SaasAnt Transactions, an Accountant's Favorite and User's choice award-winning app.
Delete Vendor in QuickBooks Online: Quick Instructions
Log in to SaasAnt Transactions with Intuit credentials.
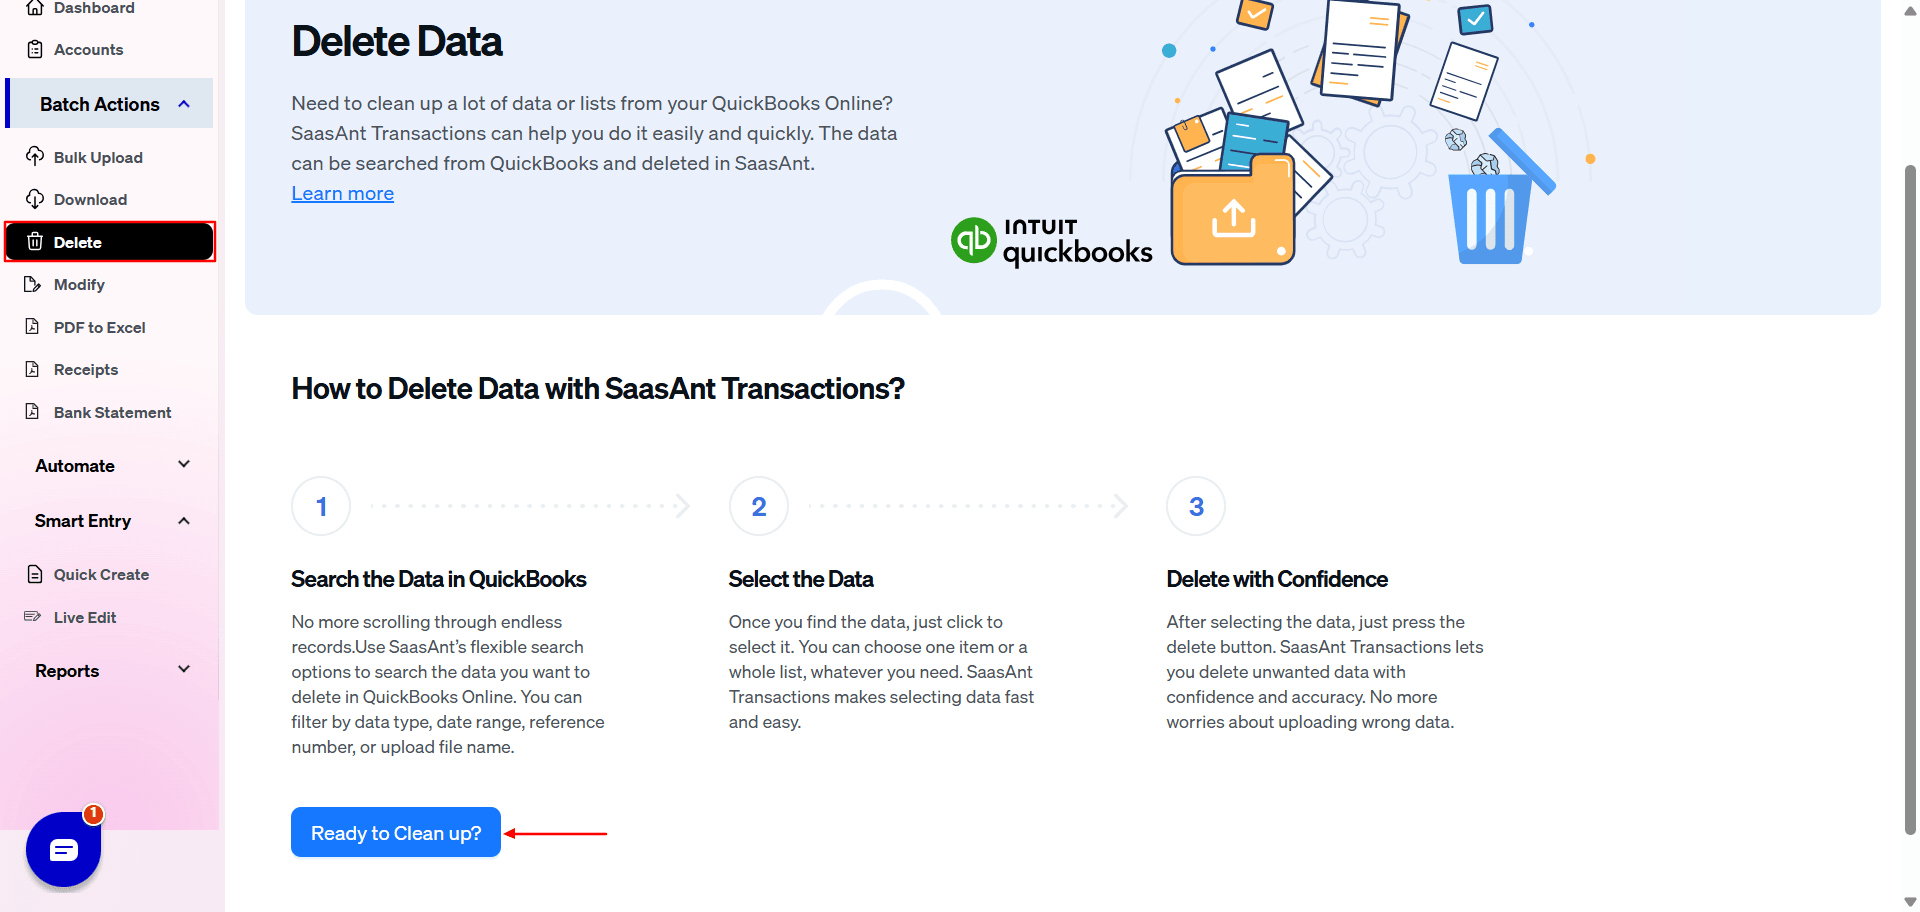
Go to 'Delete' > 'Initiate Cleanup.'
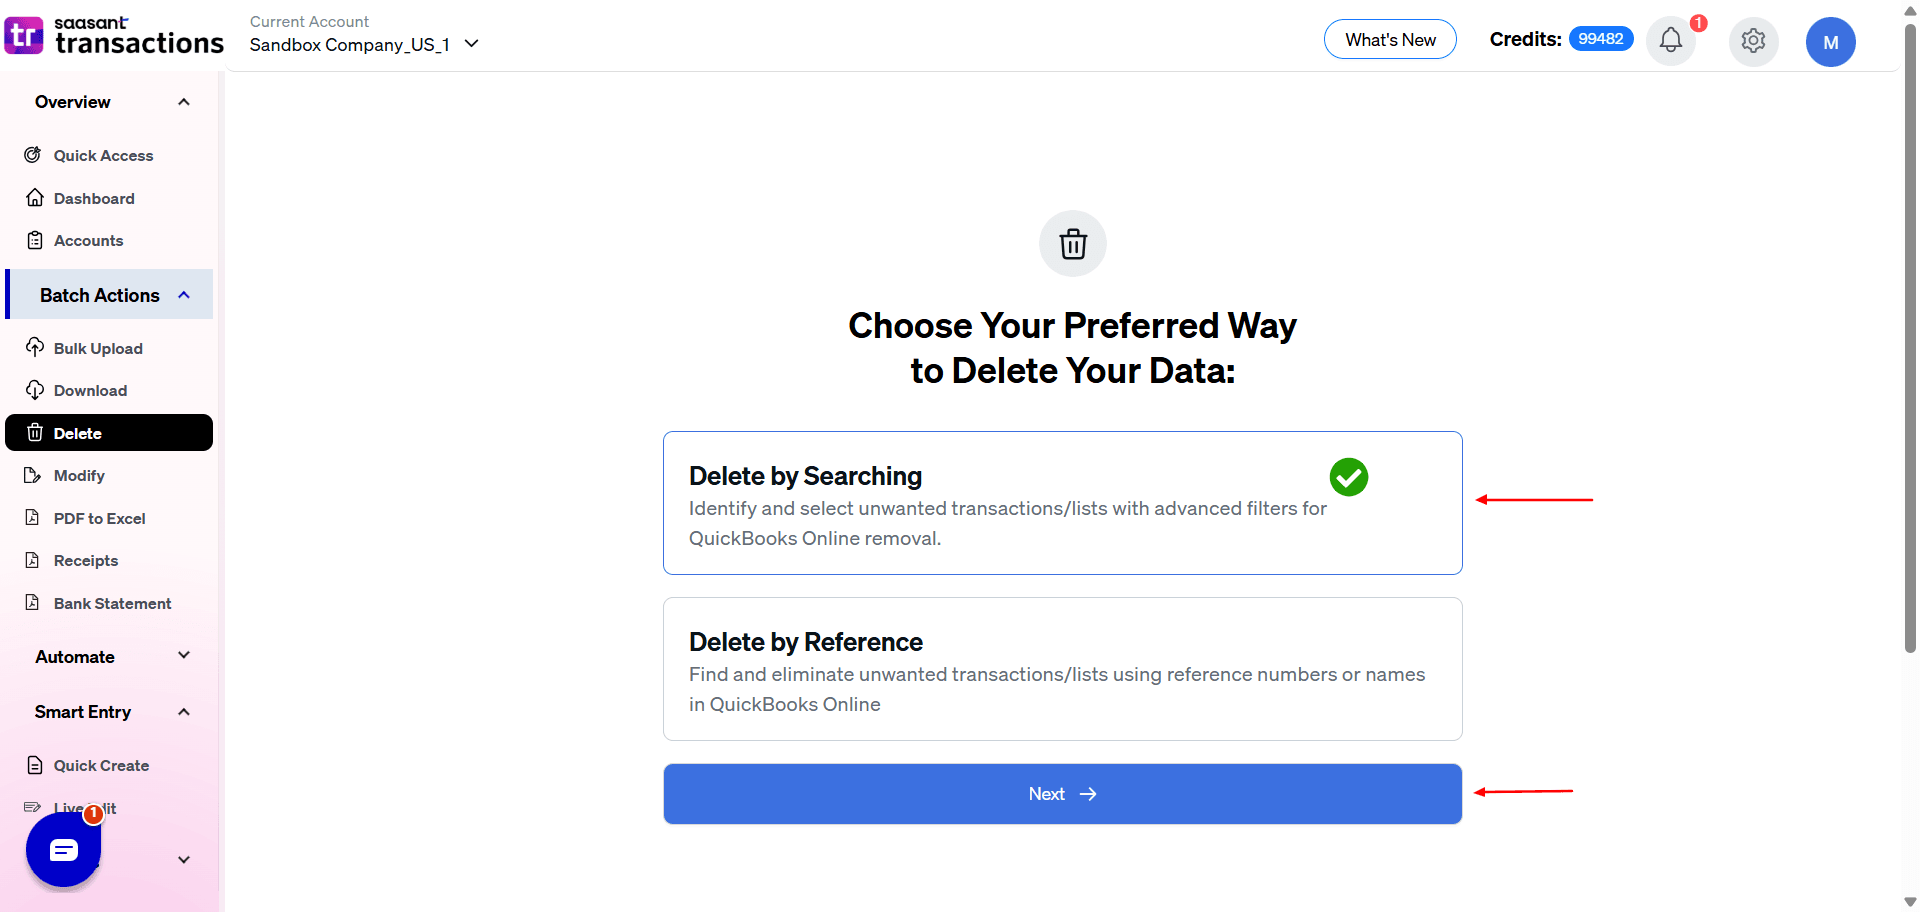
Select 'Ready to clean up' > 'Delete by Searching' > 'Next.'
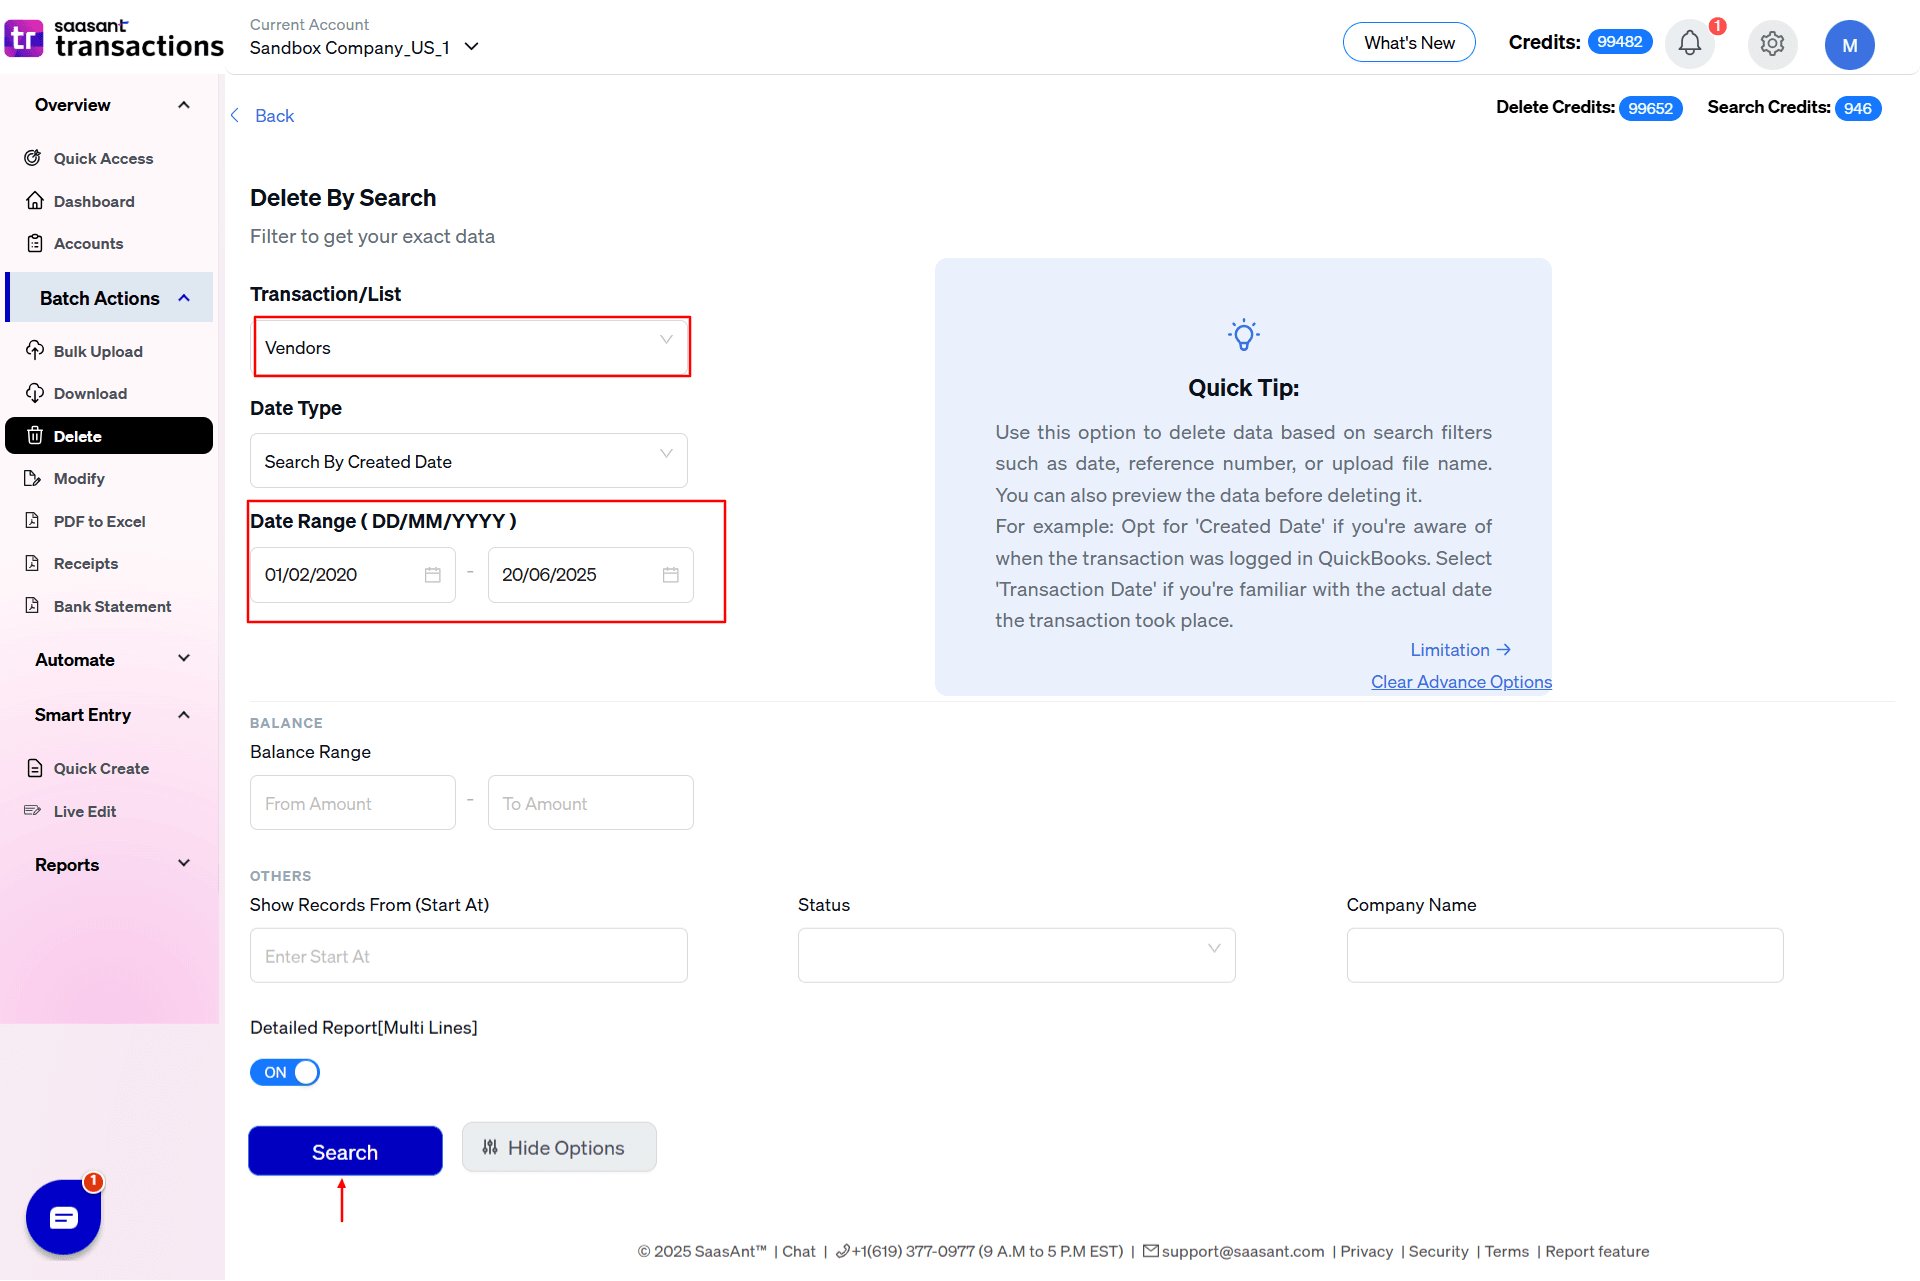
Choose 'Vendors,' search by name/date, and click 'Search.'
Select vendors, click 'Delete,' and confirm.
How to Delete a Vendor in QuickBooks Online: Step-by-Step Guide
To delete multiple vendors efficiently in QuickBooks Online, ensure you're logged into QuickBooks and have connected SaasAnt Transactions. SaasAnt Transactions provides an intuitive interface to streamline the process.
Step 1: Log Into SaasAnt Transactions
Log into SaasAnt Transactions using your Intuit credentials. Select the company profile from which you want to delete the vendor list.
Step 2: Initiate Cleanup
Navigate to the 'Delete' option and choose 'Initiate Cleanup' to start the process.
Step 3: Prepare for Deletion
Click on 'Ready to clean up,' then select 'Delete by Searching' and proceed by clicking 'Next.'
Step 4: Select Vendors
Choose 'Vendors' from the list dropdown. Opt for 'Search by Name' or 'Search by Creation Date,' select the appropriate criteria for the vendors you wish to delete, and hit 'Search.'
Step 5: Confirm Deletion
After selecting the vendors, click 'Delete' and then 'Ok' to confirm the deletion of the selected items.

Note: Before deleting, you can save a backup of the list as an Excel file with the Download option.
Cleaning up your vendor list isn't just about aesthetics; it solves several common business problems.
To Declutter Your Vendor List: Your bank feed often creates "quick-add" vendors for every incidental purchase—that coffee shop, the gas station, the lunch spot. Making these one-off vendors inactive keeps your primary list focused on your recurring, key suppliers.
To Correct Profile Errors: You might have a vendor profile with incorrect information, like erroneous ACH details for someone who only accepts checks. Inactivating the bad profile allows you to start fresh and prevent payment errors.
To Remove Duplicates: After a messy data import or a company merger, it's common to end up with multiple entries for the same vendor (e.g., "ABC Supply" and "ABC Supply Co."). The best practice is to merge their transaction histories into a single, correct profile and then make the duplicate inactive.
To Stay Under System Limits: QuickBooks Online has a usage limit (around 14,500 total names for customers, vendors, and employees). If you're a high-volume business approaching this cap, inactivating obsolete vendors is necessary to free up space to add new ones.
Efficient vendor management is crucial for accurate accounting and smooth business operations. Whether you’re deleting a single vendor or cleaning up a large vendor list, QuickBooks Online and SaasAnt Transactions provide the tools you need. While QuickBooks handles individual vendor deletions, SaasAnt Transactions makes bulk deletion quick and easy.
FAQs
How to Import Vendor Lists into QuickBooks Online?
Access SaasAnt: Log in using your credentials.
Prepare for Import: Select 'Vendors' under the 'Import' section.
Ensure Correct Formatting: Data must be in CSV or Excel format.
Map Fields: Match file columns with QuickBooks fields.
Complete Import: Verify data and finalize the import.
How to Export Vendor List from QuickBooks Online?
Log into SaasAnt: Start your session.
Export Setup: Go to the 'Export' section and select 'Vendors.'
Filter Data: Apply filters like name or creation date.
Select Format: Choose CSV, Excel, or another format.
Download Data: Export and save the file.
How to Delete Vendor List in QuickBooks Online?
Connect SaasAnt: Link your QuickBooks account.
Initiate Cleanup: Select 'Initiate Cleanup' from the 'Delete' menu.
Choose Vendors: Search by name or date to select vendors.
Finalize Deletion: Confirm the action by clicking 'Ok.'
How to Edit Vendor Details in QuickBooks Online?
Access QuickBooks: Open your account.
Search for Vendor: Go to 'Vendors' and select the vendor to edit.
Edit Information: Update name, address, or other details.
Save Changes: Confirm updates are saved properly.
Recommended Reading:
Read also
How to Export Vendor Lists from QuickBooks Online?
How to Import Expenses into QuickBooks Online
Workflow Automation for Bookkeeping and Accounting Professionals
Importing Excel into QuickBooks : Detailed Guide