How to Print Checks in QuickBooks: A Step-by-Step Guide
Printing checks in QuickBooks is an essential task for businesses that pay vendors, employees, or manage recurring expenses. Whether you use QuickBooks Online or QuickBooks Desktop, the process is simple once your check printing setup is properly configured. This guide walks through how to set up, write, and print checks in both QuickBooks versions, and how SaasAnt Transactions can automate and manage bulk check imports, edits, and exports to streamline your workflow.
Why Businesses Print Checks in QuickBooks
Printing checks directly from QuickBooks helps maintain accuracy and consistency between your bank and accounting records. It also enables you to:
Record payments automatically in your books.
Avoid duplicate data entry for each check.
Maintain accurate vendor and expense tracking.
Print multiple checks in bulk instead of one at a time.
Keep a digital record of each transaction for audits and reconciliation.
QuickBooks supports standard and voucher-style checks, giving users flexibility depending on the check format used.
Set Up QuickBooks to Print Checks
Before printing checks, you'll need to complete the print checks setup to ensure alignment between your printer and the checks. This process is easy; you can use your checks formatted for QuickBooks or order QuickBooks-compatible checks from Intuit.
There are two types of checks: standard and voucher. Standard checks come with three checks per page, while voucher checks include check stubs and only have one check per page. During the print checks setup, select the check type you're using. QuickBooks will remember your choice for future use.
Add Checks to the Print Queue
While recording a new check, select the 'Print later' checkbox or the 'Print check' option. It adds the check to your print queue, allowing you to print multiple checks simultaneously.
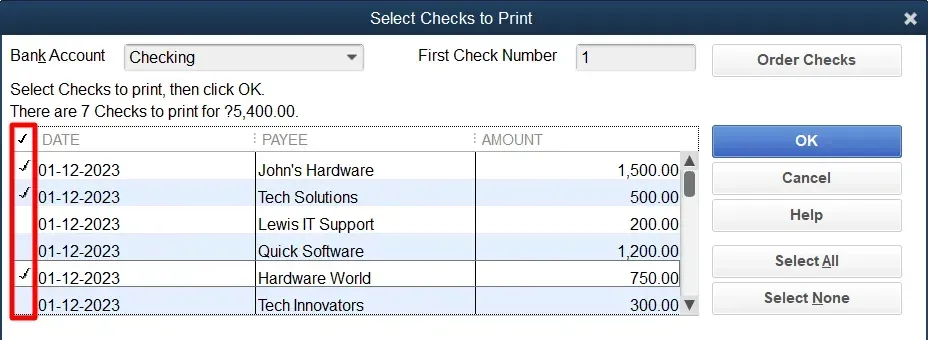
Print Checks from the Print Queue
With your checks queued up, it's time to print. Note that if you need to change the check type (standard or voucher), simply open the print setup and alter your check type. Here's how you print your checks:
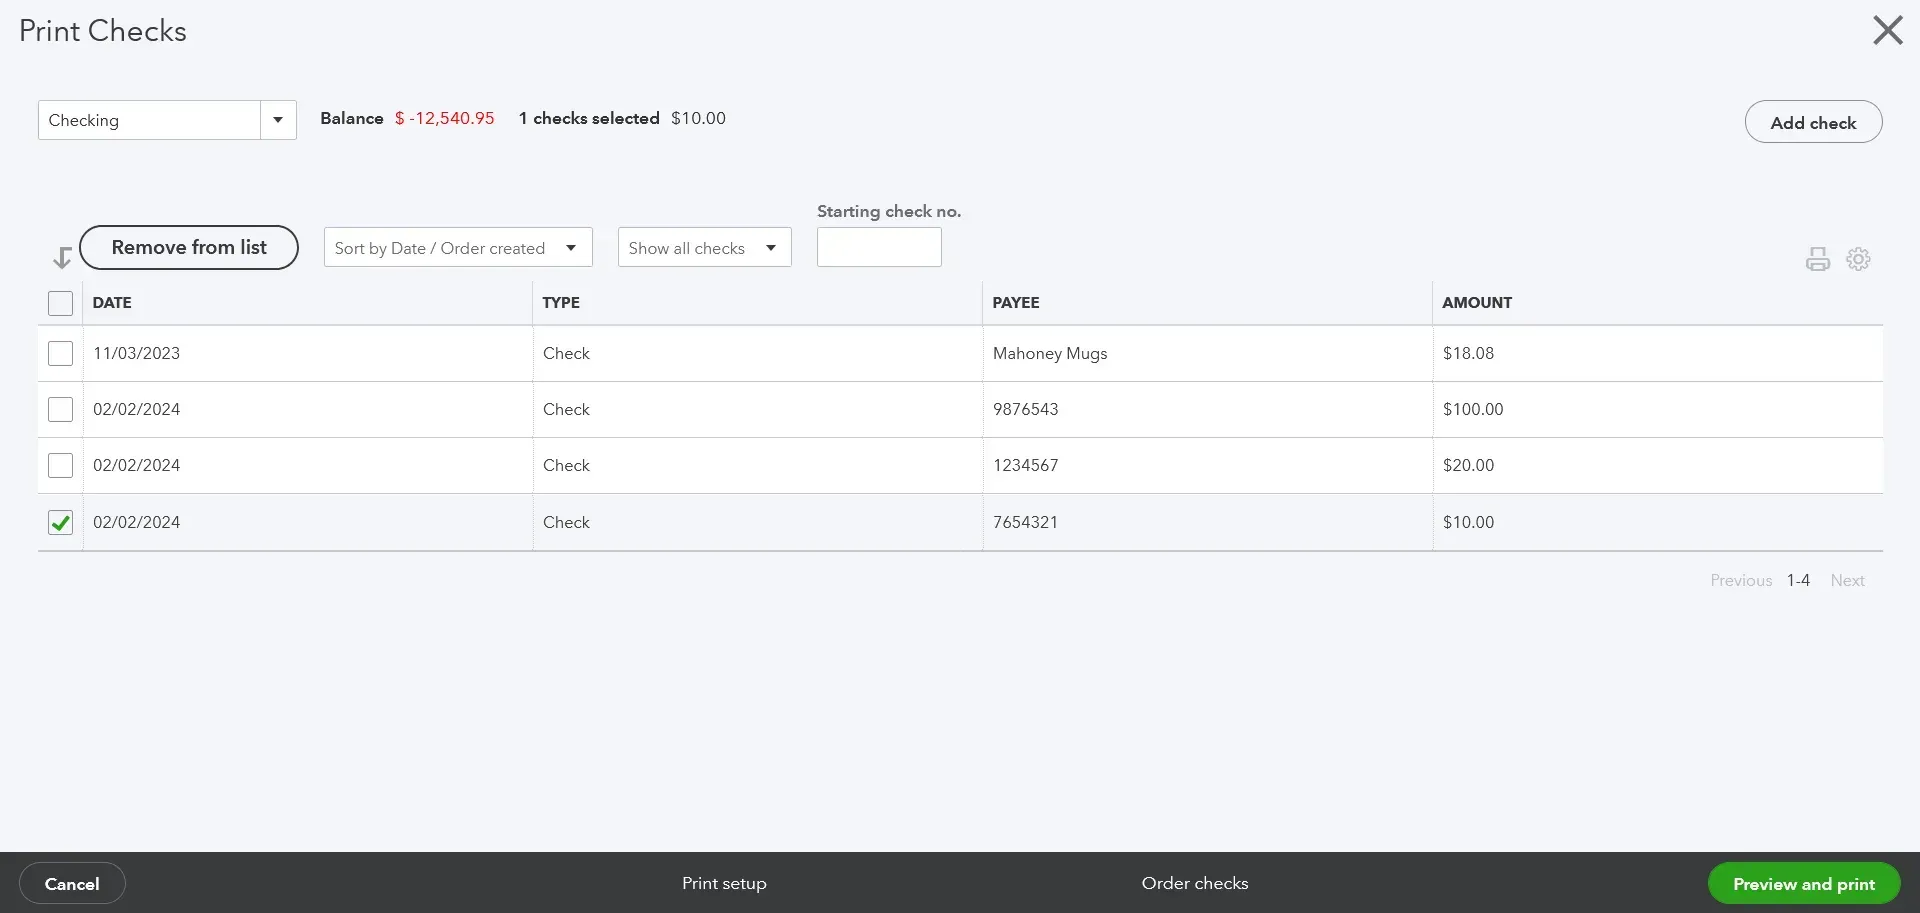
Load your checks into the printer. Consider a test print on plain paper first to ensure alignment and prevent wasting checks.
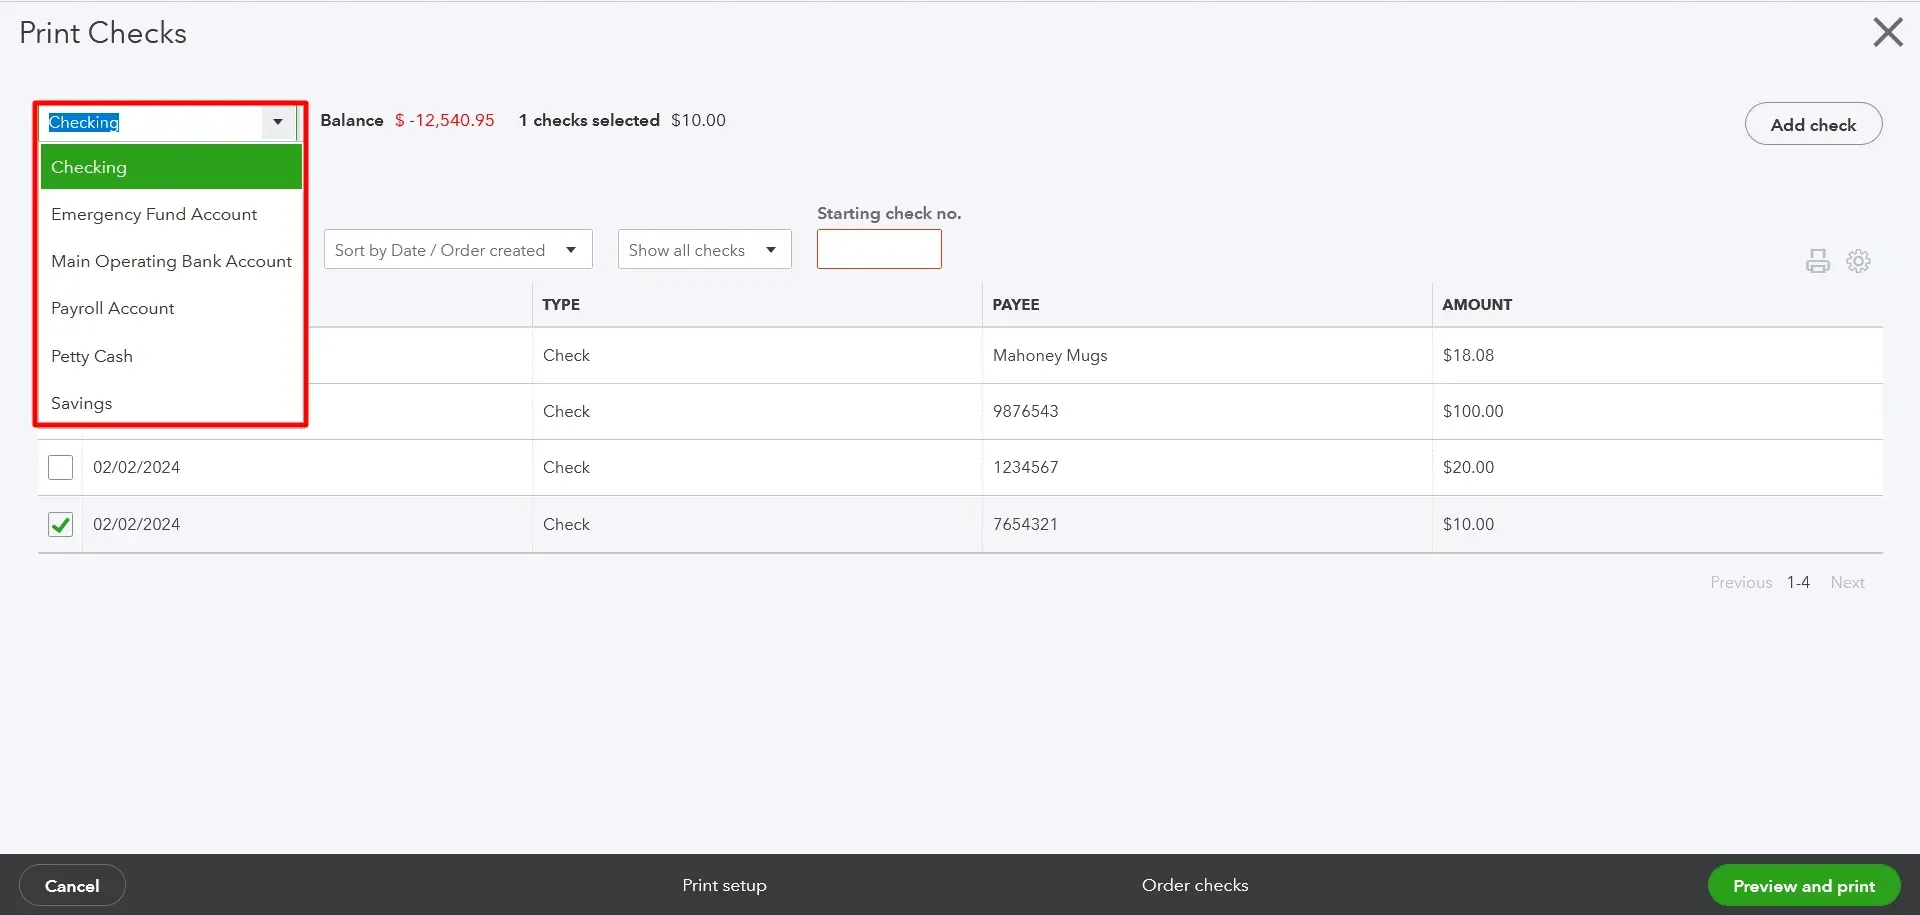
Select the checking account from which you've created the check.
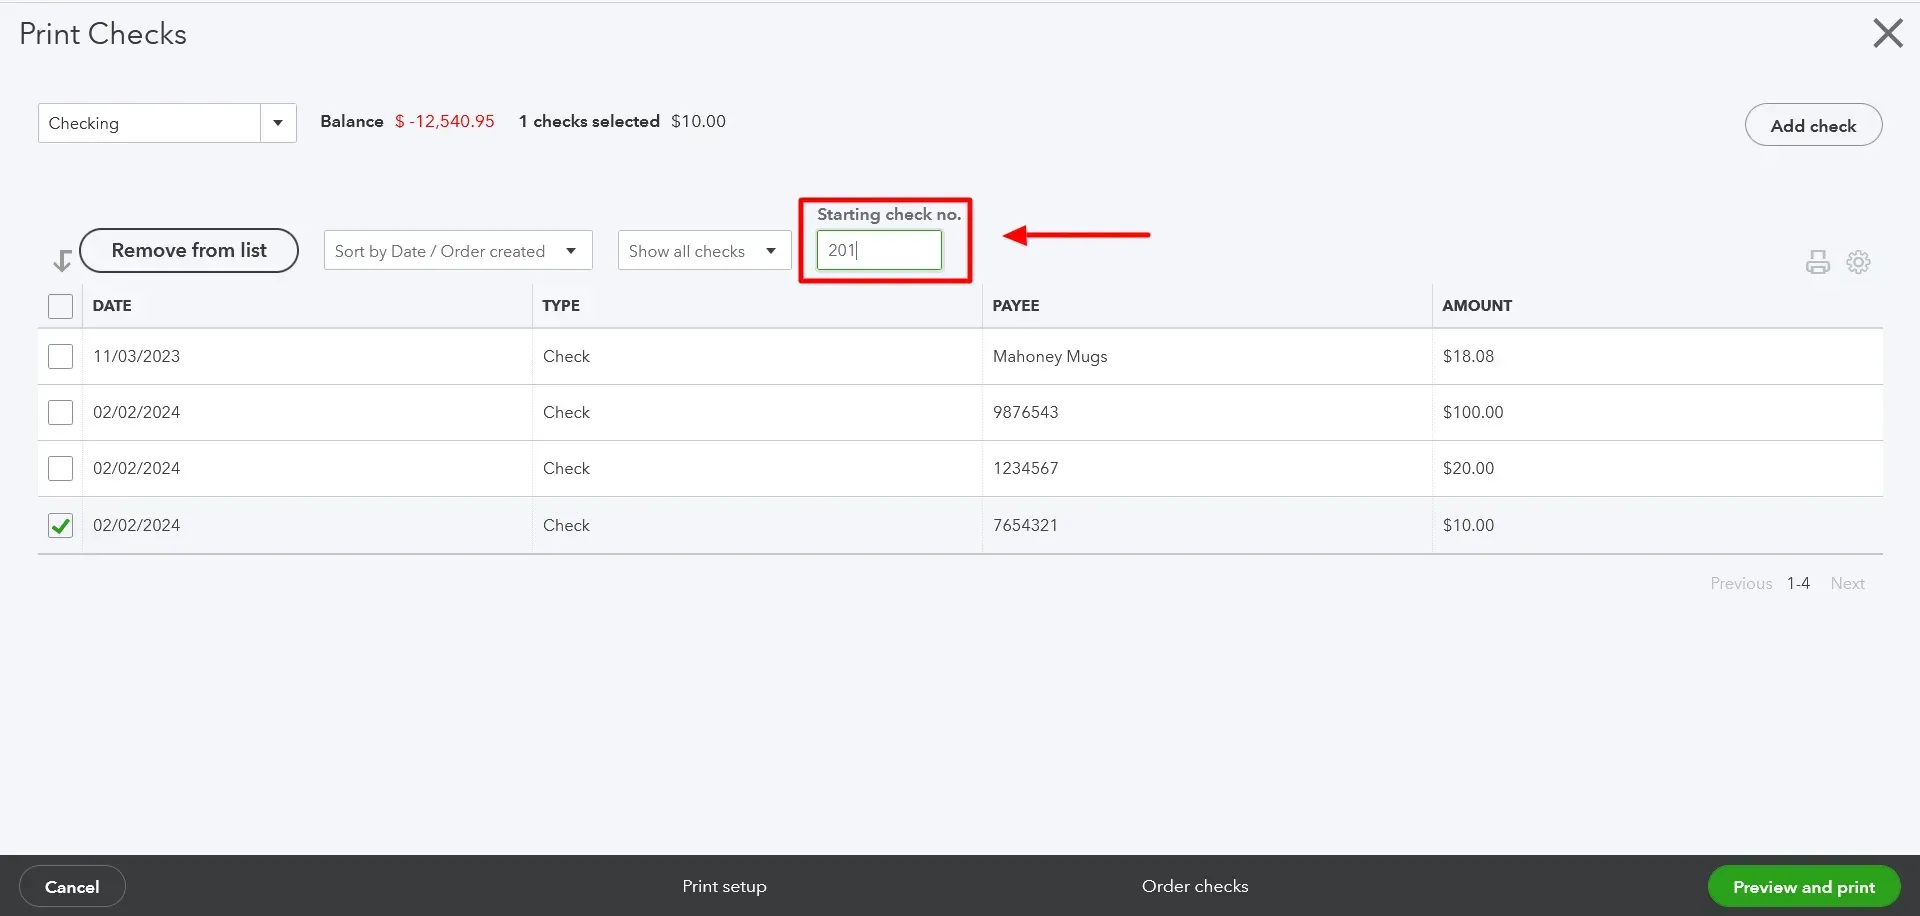
In the 'Starting check no.' field, enter the first check number in the printer.
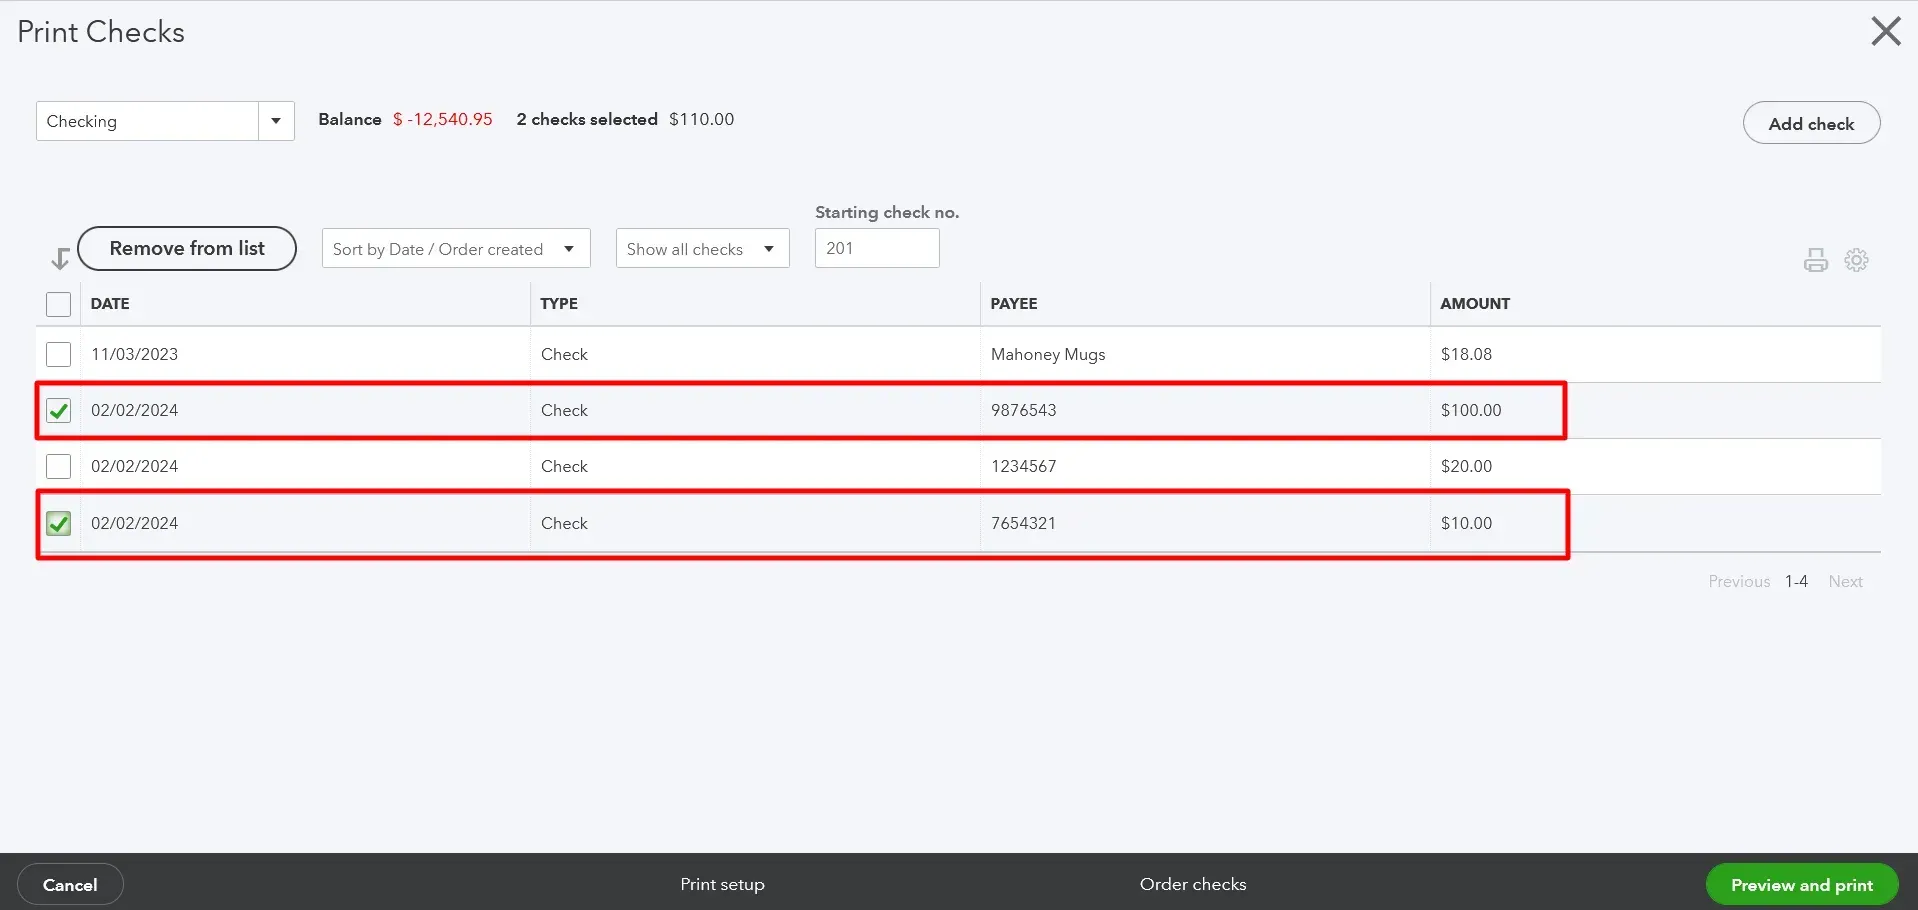
Check the boxes next to the checks you wish to print.
Select 'Preview and print.' If everything is accurate, select 'Print.'

If the checks print correctly, select 'Done'. If not, choose to reprint checks or keep them in the print list, and adjust your alignment settings in the print setup.
Managing Checks in QuickBooks Online
Connect & Setup:
Log in to your SaasAnt Transactions account and connect it to your QuickBooks Online company.
Import Checks:
New Import: Click “New Import” and select “Checks” as the transaction type.
Upload File: Upload your check data file (CSV, Excel, or IIF).
Map Fields: Align your file’s columns with the corresponding QuickBooks fields using the mapping tool.
Preview & Import: Preview the mapping for accuracy, then click “Import” to add the checks into QuickBooks.
Rollback (Optional): If errors occur, use the rollback feature to undo the import and correct any issues.
Export Checks:
Initiate Export: Navigate to the “Export” section in SaasAnt Transactions.
Select Transaction Type: Choose “Checks” as the transaction type.
Apply Filters & Format: Set any desired filters (e.g., date range) and select your preferred export format (CSV or Excel).
Download File: Execute the export and download your file for review or record-keeping.
Edit Checks:
Modify Section: Go to the “Modify” (or “Edit”) section in SaasAnt Transactions.
Upload Updated Data: Upload a file containing the updated check details (ensure each check’s reference number is included for accurate matching).
Map & Preview: Map the updated fields to QuickBooks and preview the changes.
Execute Update: Confirm and run the update to edit the checks in QuickBooks.
Delete Checks:
Access Delete Section: Open the “Delete” section in SaasAnt Transactions.
Filter & Select: Use filters to locate the specific check transactions you wish to delete.
Confirm Deletion: Verify the selection and click “Delete” to remove the checks from QuickBooks.
Using these, you can efficiently manage your check transactions in QuickBooks Online—minimizing manual data entry, reducing errors, and keeping your financial records up-to-date.
How to Write and Print Checks in QuickBooks Desktop
Writing a Check
In QuickBooks Desktop, you can use regular checks to pay various expenses, fund petty cash, or pay credit card dues.
To write checks, navigate to the 'Banking' menu and select 'Write Checks'.
Fill in the required fields, such as bank account, payee name, date, amount, and memo if necessary.
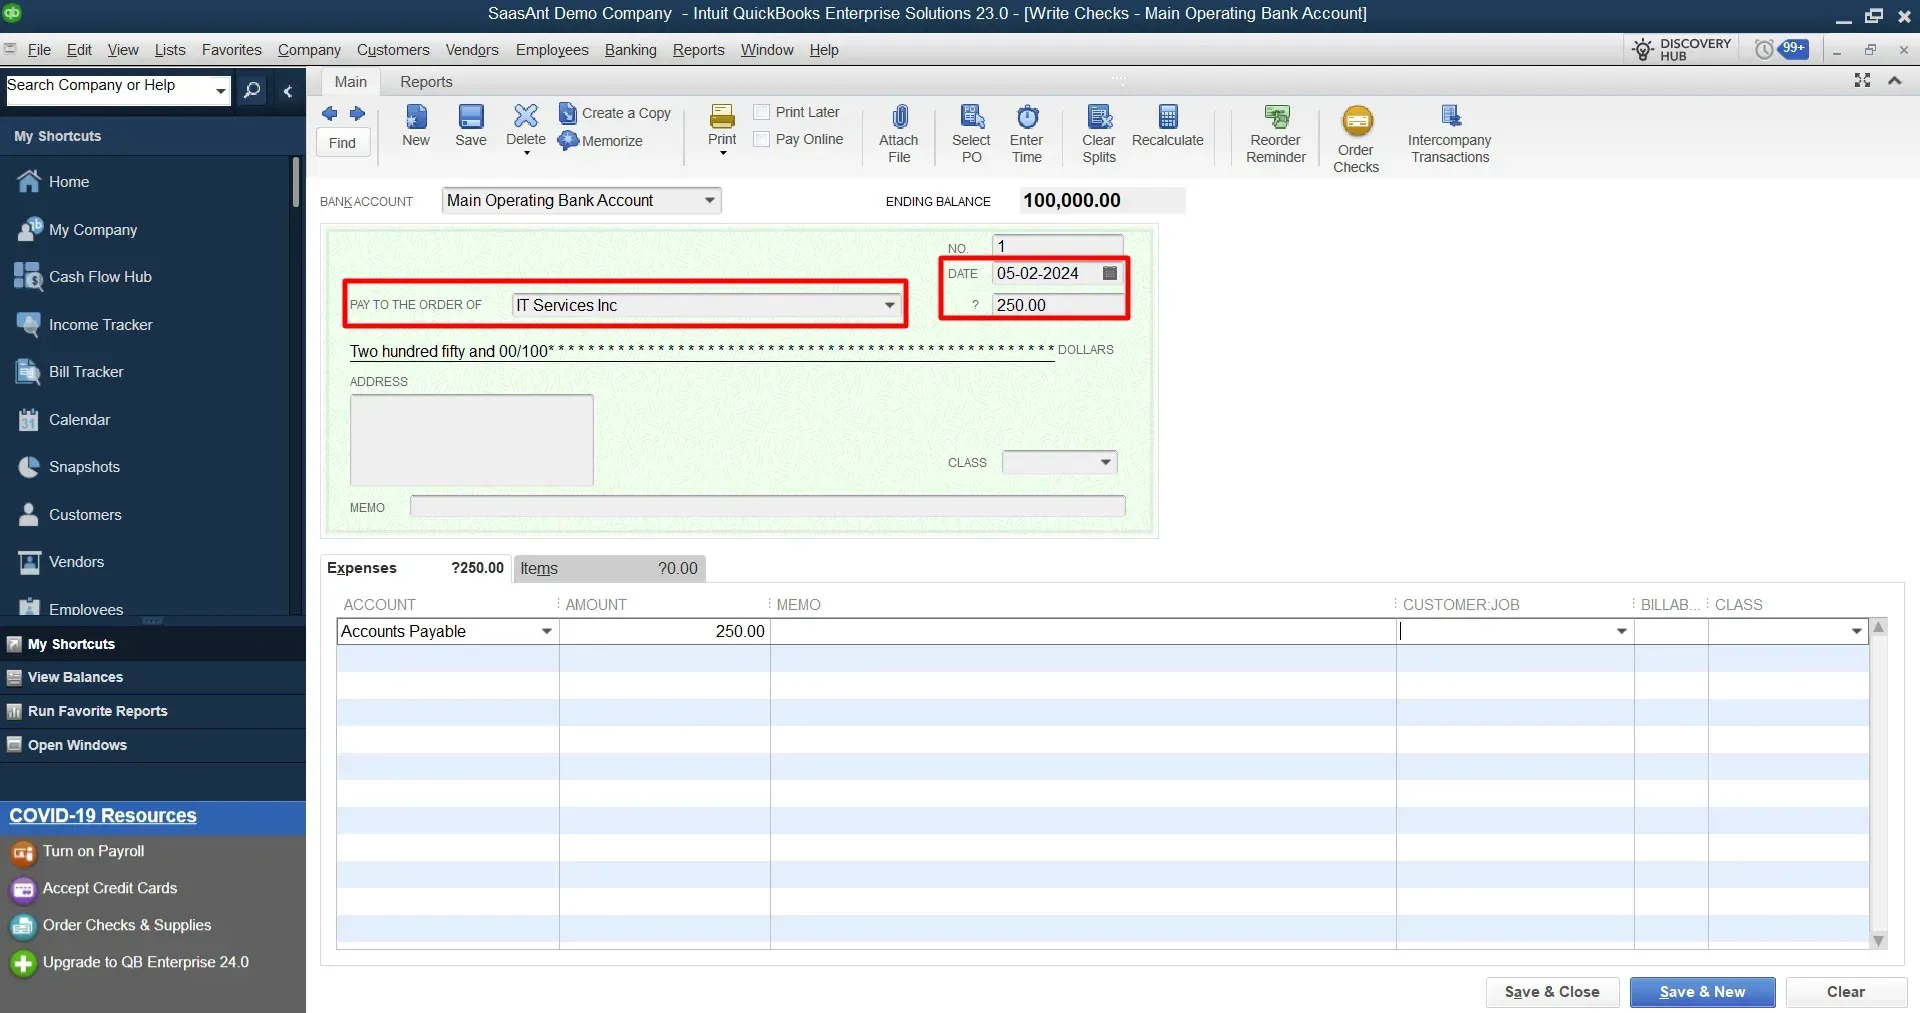
Enter the expense details within the 'Account' or 'Amount' tab.
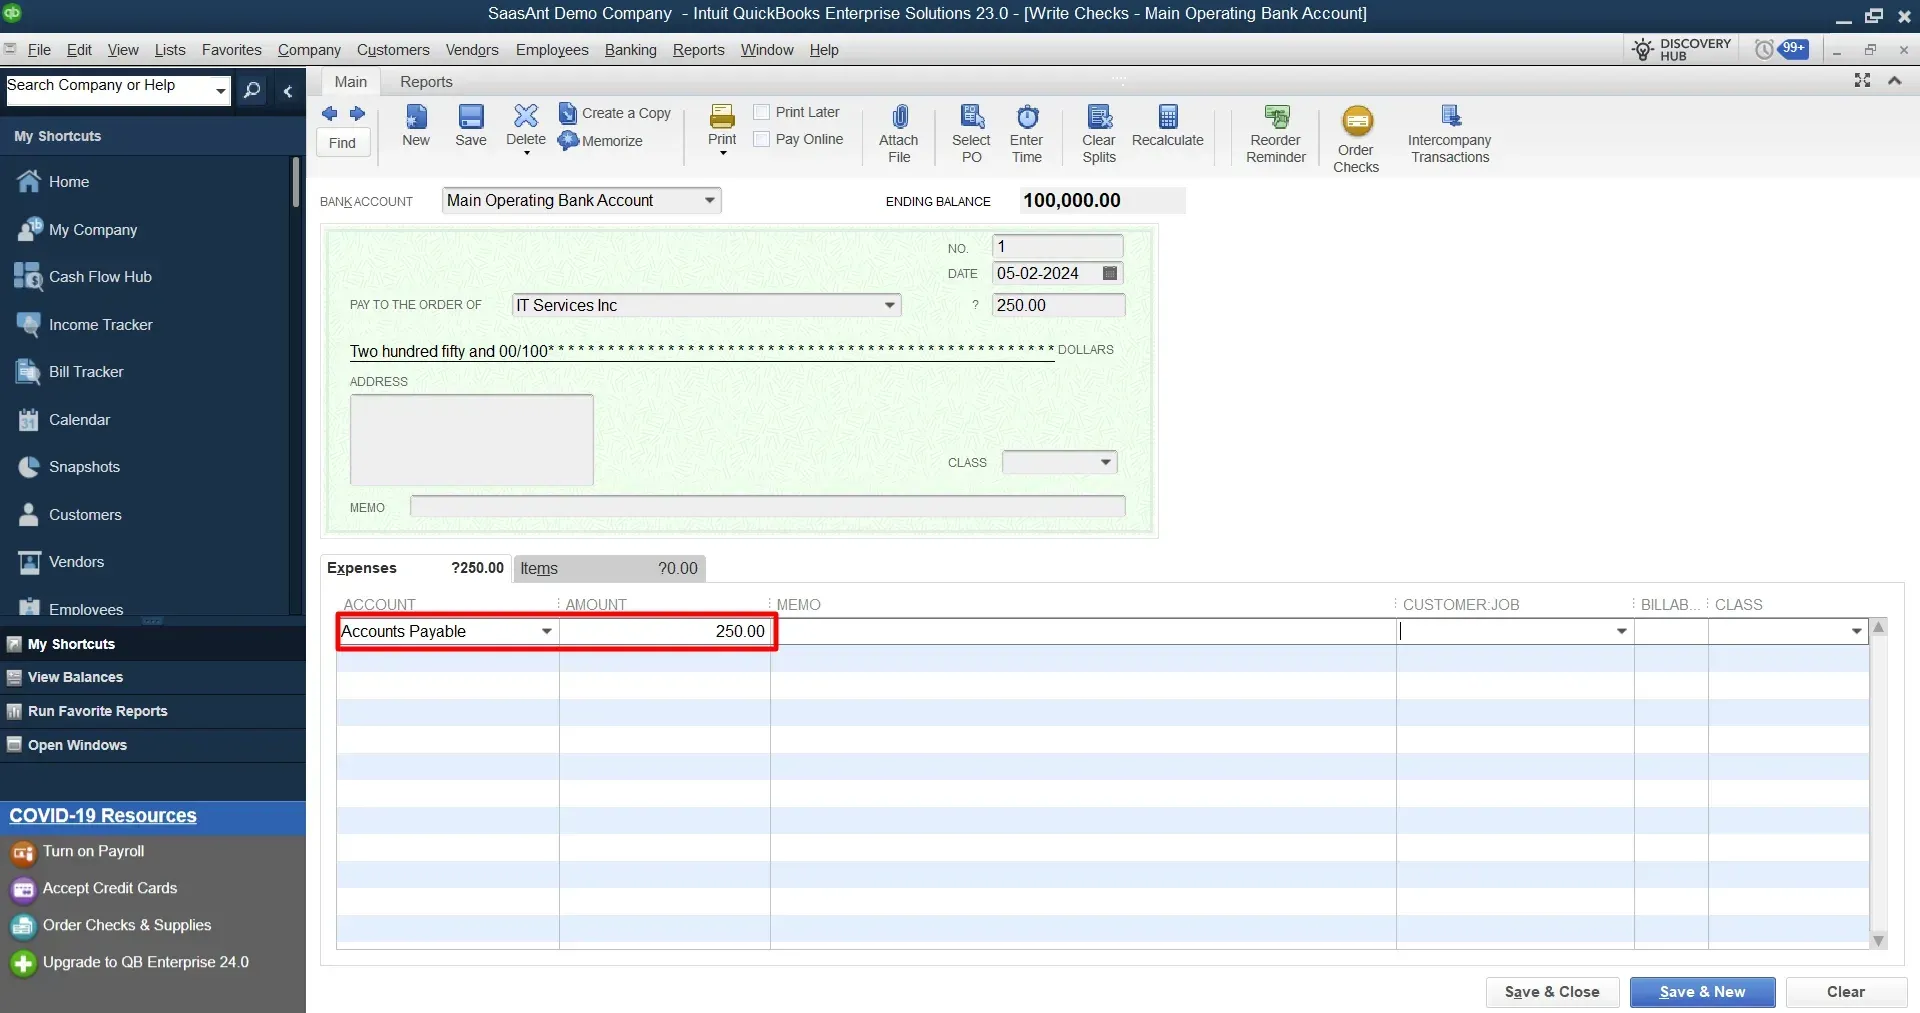
After completing all fields, select 'Save & Close.’

Printing a Check
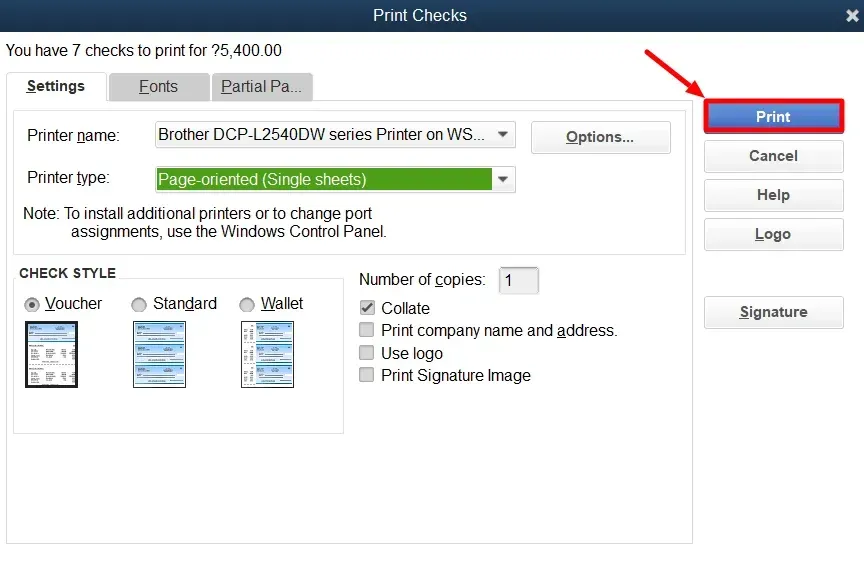
Select the 'Print' icon in the 'Write Checks' window to print a check.
Choose to print single or multiple checks marked for 'Print Later.'
Select the printer name, type, and check style in the 'Print Checks' window.
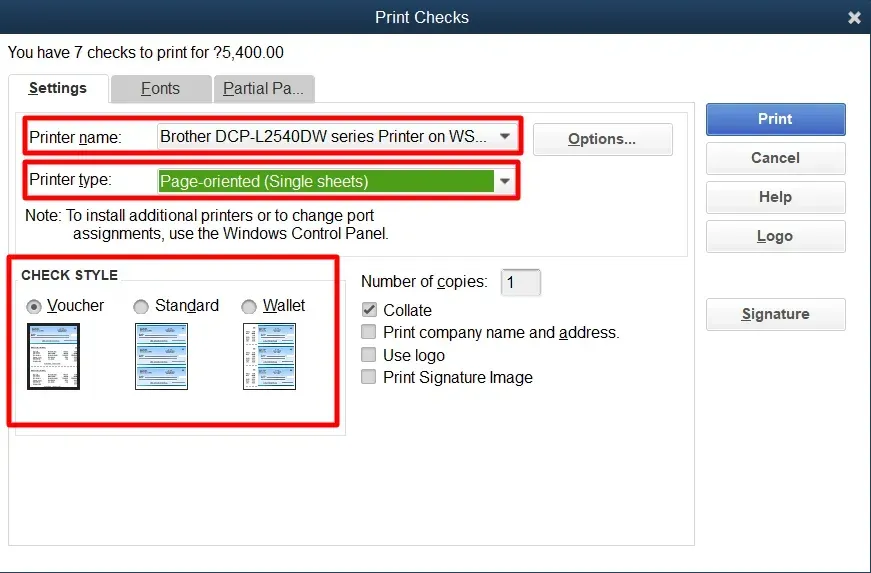
If your pre-printed checks already contain your company name and address, uncheck the 'Print company name and address' checkbox.
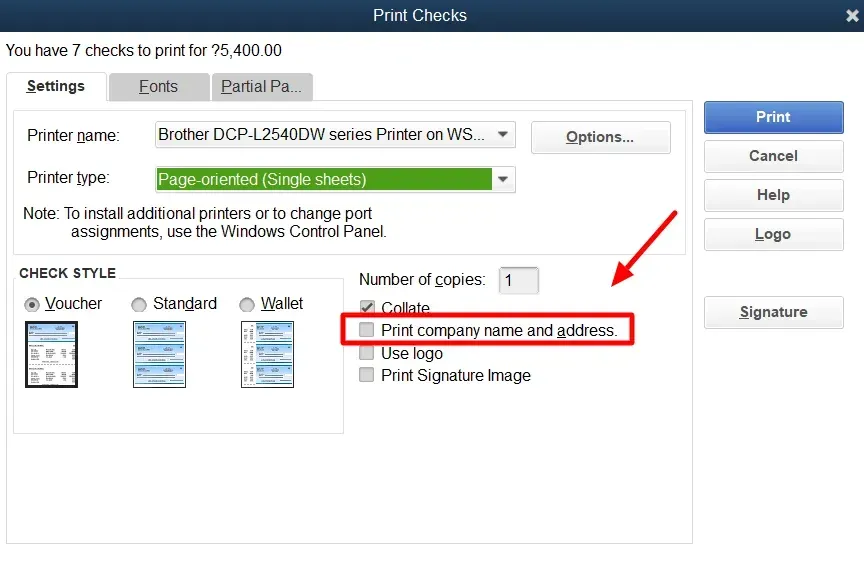
Finally, ensure all settings are correct and select 'Print.'
 Printing checks using QuickBooks, whether Online or Desktop, can be manageable. New QuickBooks users can effectively manage and streamline their check printing process by following these simple steps. Remember, the key is to familiarize yourself with the software, and with time, you'll master these functionalities with ease.
Common Issues and Solutions When Printing Checks in QuickBooks
1. Misalignment or Crooked Prints
Run a test print on plain paper before using actual checks.
Adjust margins and alignment from the print setup screen.
Ensure your printer settings match the paper size.
2. Wrong Check Number Sequence
Enter the correct starting check number before printing.
Review your last printed check to maintain sequential order.
3. Duplicate Checks
Check your print queue to ensure the same transaction isn’t marked twice.
SaasAnt’s rollback and delete tools can help remove duplicates quickly.
4. Missing Payee or Account Info
Review check details before printing.
Use SaasAnt Transactions’ field mapping preview to catch missing fields during imports.
5. Printer Compatibility Issues
Use a laser or inkjet printer compatible with QuickBooks check paper.
Avoid double-sided printing and ensure paper is loaded correctly.
Benefits of Using SaasAnt Transactions with QuickBooks
Integrating SaasAnt Transactions with QuickBooks gives businesses full control over their financial data processes. Key benefits include:
Bulk check management (import, export, edit, delete)
Error-free imports with field mapping and rollback features
Significant time savings through automation
Enhanced accuracy in payment tracking
Comprehensive data control without manual updates
SaasAnt helps businesses eliminate repetitive data entry and ensures their QuickBooks data is clean, consistent, and audit-ready.
Final Thoughts
Printing checks in QuickBooks Online or Desktop is straightforward with proper setup and attention to detail. The process becomes even more efficient with SaasAnt Transactions, which enables automated check management, bulk imports, and exports—all within a few clicks. Whether you are processing vendor payments, payroll checks, or refunds, combining QuickBooks with SaasAnt Transactions ensures speed, accuracy, and compliance.
FAQs
How do I set up QuickBooks to print checks?
You must complete the print checks setup to ensure alignment between your printer and the checks. You can either use your QuickBooks-formatted checks or order QuickBooks-compatible checks from Intuit. You must also select the check type you use: standard or voucher.
How do I add checks to the print queue?
Select the ‘Print later’ checkbox or the ‘Print check’ option when you record a new check. It adds the check to your print queue, allowing you to print multiple checks simultaneously.
How do I print checks from the print queue?
Select ‘+New’ and then ‘Print checks.’ Load your checks into the printer. Select the checking account from which you’ve created the check. Enter the number of the first check in the printer. Check the boxes next to the checks you want to print. Select ‘Preview and print.’ If everything is correct, select ‘Print.’ If not, adjust your alignment settings in the print setup.
How do I void or delete a check in QuickBooks Online?
To void a check, open it and select ‘More’ at the bottom. Then select ‘Void.’ To delete a check, open it and select ‘More’ at the bottom. Then select ‘Delete.’
Tags
Read Also
How to Export Checks from QuickBooks Online
How to Import Checks into QuickBooks: A Complete Guide
How to Manage Checks in QuickBooks Online: A Detailed Guide
How to Delete a Check in QuickBooks online